Building your own DIY SATA to USB adapter is a rewarding and practical project that allows you to repurpose old hardware for data transfer and storage. Whether you’re looking to connect an old hard drive to modern devices, recover valuable data, or create a portable external storage solution, this guide will show you how to build a reliable and functional SATA to USB adapter. We’ll walk you through advanced techniques, explore practical use cases, and provide alternative methods to ensure your DIY project is a success.
A. How to Build Your Own DIY SATA to USB Adapter
Building your own SATA to USB adapter involves a few straightforward steps. Below, we’ll break down the necessary components, tools, and procedures for creating your very own custom SATA to USB adapter.
Step 1. Gather Your Materials
To get started, you’ll need the following components:
- SATA to USB Adapter Kit (if using a pre-made kit)
- SATA Data Cable
- USB Cable (USB 3.0 or above for faster data transfer)
- Power Supply (if needed for high-power drives)
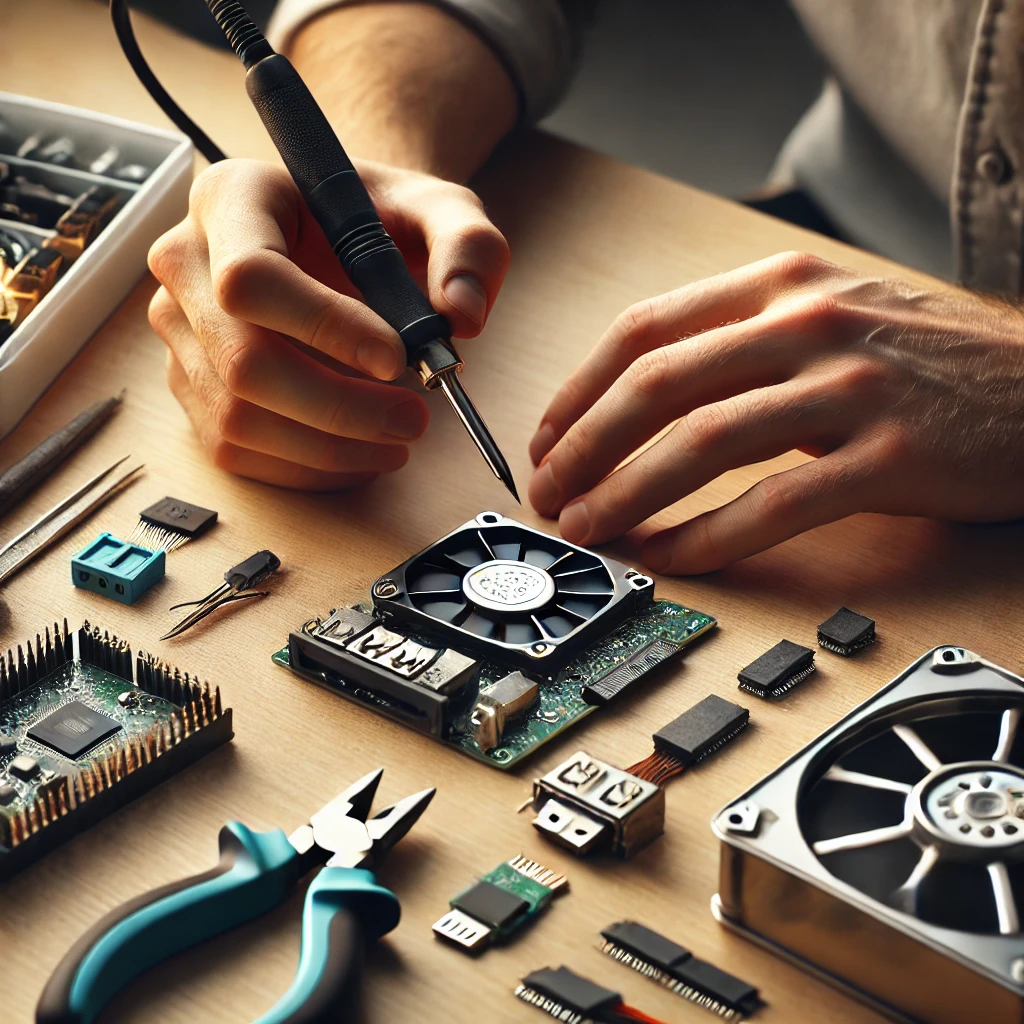
- Soldering Iron and Solder (if assembling from scratch)
- Wire Strippers and Electrical Tape for insulation
- Heat Shrink Tubing for securing cables
Step 2. Connect the SATA and USB Cables
- Attach the SATA Data Cable: Connect one end of the SATA cable to the SATA data port on the hard drive.
- Connect the USB Cable: Use the appropriate USB cable (preferably USB 3.0 or above) to connect to the other end of the adapter.
Step 3. Add Power Supply (if Necessary)
For hard drives that require external power (like 3.5-inch drives), make sure to connect the external power supply to ensure stable data transfer.
Step 4. Secure and Insulate the Connections
After connecting the cables, use electrical tape or heat shrink tubing to insulate the connections, preventing damage or short circuits during use.
Step 5. Test Your Adapter
Once everything is securely connected, plug the adapter into your computer and test the connection. Check if the drive is recognized and ensure that the data transfer is smooth.
B. Common Mistakes to Avoid When Building Your SATA to USB Adapter
Building your own DIY SATA to USB adapter can be a fun and rewarding project, but there are several common mistakes that DIYers often make. By knowing what to avoid, you can ensure that your adapter functions properly and lasts a long time.
1. Using Low-Quality Parts
While it might be tempting to save money by using cheaper parts, low-quality cables, connectors, and adapters can significantly affect the performance of your SATA to USB adapter. Low-quality components may lead to issues such as poor signal transmission, slow data transfer speeds, and frequent connection drops. In extreme cases, using subpar parts can even damage your hard drive or the adapter itself.
Tip: Always opt for high-quality, well-reviewed products. Look for cables and connectors that are USB 3.0 or higher for faster data transfer speeds and durability. Also, make sure the connectors are compatible with your devices to avoid connection issues.
2. Incorrect Power Supply
Another common mistake is not ensuring that your power supply matches the needs of your SATA drive. Some drives, particularly 3.5-inch hard drives, require more power than can be provided through USB alone. If your power supply is inadequate, the drive might fail to power on properly, causing connectivity issues, slow data transfer speeds, or even complete failure of the drive.
Tip: Check the power requirements of the SATA drive you’re using. For larger drives, invest in a reliable external power supply or powered USB hub to ensure consistent power delivery and prevent interruptions.
3. Choosing the Wrong Cable Length
Using cables that are too long can introduce signal degradation. The longer the cable, the more the signal has to travel, which can cause data transfer speeds to slow down or connections to become unstable. A cable that’s too long may also be more prone to physical damage, resulting in poor connection or data loss.
Tip: Whenever possible, use shorter cables (around 3 feet or less) to maintain optimal signal quality. Shorter cables reduce the chances of interference and provide faster, more stable data transfer.
4. Failing to Ensure Proper Cable Shielding
Another overlooked mistake is failing to properly shield the cables. SATA to USB adapters, especially when used with high-performance drives or when located near other electronic devices, can be susceptible to electromagnetic interference (EMI). Without proper shielding, the cables can pick up noise from nearby electronic devices, which may distort or degrade the signal.
Tip: Look for cables with built-in shielding to reduce the impact of interference. This ensures that the data transfer remains stable and free from external noise that could affect performance.
5. Ignoring Proper Cable Management
Cable management is often neglected in DIY projects, but messy cables can lead to several problems. Not only do tangled cables pose a physical risk by damaging connectors or cables, but they can also affect the performance of your adapter. Excessive movement of poorly managed cables can lead to disconnections, data corruption, or even physical damage to the connectors.
Tip: Take the time to properly manage your cables by securing them with cable ties, clips, or cable organizers. This helps maintain a neat workspace and prevents unnecessary wear on cables and connectors. It also reduces the likelihood of accidental disconnections.
6. Overlooking USB Port Compatibility
Not all USB ports are created equal. While most modern computers have USB 3.0 or USB 3.1 ports, older systems may only support USB 2.0, which can drastically reduce your data transfer speeds. Using a USB 2.0 port with your SATA to USB adapter will bottleneck the entire connection, resulting in slow data transfer speeds, especially when dealing with large files.
Tip: Always use a USB 3.0 or higher port for the best performance. USB 3.0 offers significantly higher transfer speeds than USB 2.0, allowing you to fully utilize the potential of your adapter.
7. Not Testing Before Finalizing Setup
Many users rush to complete their DIY projects without thoroughly testing the setup. Before declaring your SATA to USB adapter finished, you should test it under real-world conditions. Check for consistent data transfer speeds, smooth connectivity, and reliable performance. Skipping this step could leave you with an adapter that doesn’t work as expected, especially when it comes time to recover or transfer data.
Tip: Test your adapter with different devices and data sizes before using it regularly. Ensure that it consistently works well under all conditions, and be sure to check if the drive is being recognized by the system before transferring important data.
8. Forgetting About Future Proofing
As technology advances, older components can quickly become obsolete. When building a SATA to USB adapter, it’s easy to focus only on the immediate need, but it’s important to consider future-proofing as well. For example, you might need to connect different types of drives or upgrade your storage options over time.
Tip: When possible, choose adapters that support future upgrades. Opt for USB 3.1 or USB-C connectors that can accommodate newer devices, and consider choosing adapters that support both SATA I/II/III drives, so you’re prepared for future changes in technology.
By avoiding these common mistakes when building your DIY SATA to USB adapter, you’ll ensure a smoother, more reliable experience. With high-quality components, proper power supply, well-managed cables, and thorough testing, you can create a robust adapter that meets your needs for data transfer, storage, and recovery. Whether you’re a beginner or a seasoned DIYer, understanding these potential pitfalls and taking the time to build carefully will save you frustration and time in the long run.
C. Advanced Techniques for Building Your DIY SATA to USB Adapter
Optimizing for Faster Data Transfer If you’re aiming for better performance, here are some techniques to improve your adapter’s efficiency:
- Use High-Quality Cables: Invest in USB 3.0 or USB 3.1 cables to ensure faster data transfer. These cables are specifically designed to handle larger data streams, which can significantly reduce transfer times.
- Power Supply Considerations: For high-demand drives, using a dedicated external power supply will prevent instability, ensuring that large files are transferred without interruptions or power fluctuations.
- SATA Controller Upgrades: If you’re working with larger or older drives, upgrading to a higher-performance SATA controller can provide additional speed boosts, especially for faster hard drives like SSDs.
Troubleshooting Tips Even the best adapters can experience hiccups. Here’s how to troubleshoot common problems:
- Power Issues: If the adapter isn’t powering up, check to see if the adapter requires additional power. Some drives, particularly larger ones, might need an extra power source to function correctly.
- Slow Data Transfer: If you’re noticing slow transfer speeds, ensure that you’re using a USB 3.0 or above port on your computer. Older USB ports (USB 2.0) will slow down the transfer rate significantly.
- Intermittent Connections: If the connection keeps dropping, check your cables for signs of wear, and make sure everything is securely connected.
D. Practical Use Cases for Your DIY SATA to USB Adapter
Repurpose Old Drives into External Storage A DIY SATA to USB adapter is perfect for transforming your old internal drives into external hard drives:
- Store Backup Data: Repurpose older drives as reliable backup storage, freeing up space on your main computer.
- Quick Data Transfer: Easily move large amounts of data between devices, such as transferring files from an old laptop to a new one.
Data Recovery Projects One of the most useful applications of a DIY SATA to USB adapter is for data recovery:
- Recover Files: If you have an old drive with important files but no longer have a working computer to access it, this adapter can help retrieve your data.
- Clone Hard Drives: Create backups by cloning your old drives using the SATA to USB adapter, ensuring data safety before your hardware fails completely.
Create Your Own Backup Solution If you’re looking for a cost-effective backup solution, a DIY SATA to USB adapter can help you turn unused internal drives into valuable external storage devices, giving you extra space for important files and documents.
E. Alternative Methods for Building Your SATA to USB Adapter
Not everyone needs a high-tech setup to get their SATA to USB adapter working. Here are a few alternative methods:
Minimal Tools for DIY Assembly You don’t need a fully-equipped workshop to make this adapter. With some basic tools like a soldering iron, wire strippers, and electrical tape, you can make a functional adapter. These minimal tools will help you assemble your adapter without spending much on extra equipment.
Budget-Friendly Kits Consider purchasing a budget-friendly adapter kit that includes everything you need to assemble the SATA to USB adapter. These kits are often inexpensive and easy to assemble, making them an ideal option for beginners.
Repurpose Old Adapters If you have old, broken adapters lying around, you can often repurpose them by salvaging the connectors and wiring. For example, if you have a damaged USB to SATA adapter, you can use the intact parts to create a new, working version.
Final Thoughts on Building Your DIY SATA to USB Adapter
Building your own DIY SATA to USB adapter is a practical and rewarding project that can save you money while providing you with the tools needed to repurpose old drives and extend their usefulness. With the right materials and techniques, you can create a reliable adapter that fits your needs for data transfer, storage, and even data recovery.
By avoiding common mistakes such as using low-quality parts, neglecting proper power supply, or opting for long cables, you can ensure that your adapter works efficiently and performs at its best. Additionally, considering advanced techniques like upgrading your cables, power supply, and SATA controller can further optimize your build.
Whether you’re a beginner or a seasoned DIY enthusiast, following these steps and tips will help you create a high-quality SATA to USB adapter that you can rely on for years. Remember, with a little patience and the right tools, you’ll be able to make the most of your old hard drives and enjoy seamless connectivity between your devices.


