Why this matters: Modern systems use two common interfaces for storage and peripherals. One links internal drives, the other connects external devices. This section frames a practical path for moving data and repurposing old storage.
What readers will learn: how the bridge between these standards works, when a homemade solution makes sense, and when a powered station is the safer choice.
The article outlines two clear paths. One shows a careful SATA to USB adapter DIY guide for people with tools and skills. The other recommends off-the-shelf, powered options for high-value drives.
Readers get a preview of uses: quick file access, recovery, or turning an old drive into secondary storage for a laptop or compact computer project. The write-up emphasizes data protection, proper power handling, and correct connector checks up front.
Key Takeaways
- Understand basic differences between internal and external interfaces before attempting any build.
- A simple homemade solution can save cost, but power limits may require a powered dock instead.
- Insulate and secure all joints; incorrect wiring can harm drives and computers.
- Verify drive type and port labels to avoid compatibility errors on devices.
- Links to wiring diagrams and reference builds are provided for hands-on readers.
SATA Vs USB: How They Differ, Power Needs, And Compatibility
Understanding how internal storage signals differ from external ports clears up many common connection problems. Internal links use point‑to‑point signaling and keyed connectors, while external ports rely on host-controlled transfers. That means a bridge controller is needed to translate protocols and present the drive as a mass‑storage device to the computer.
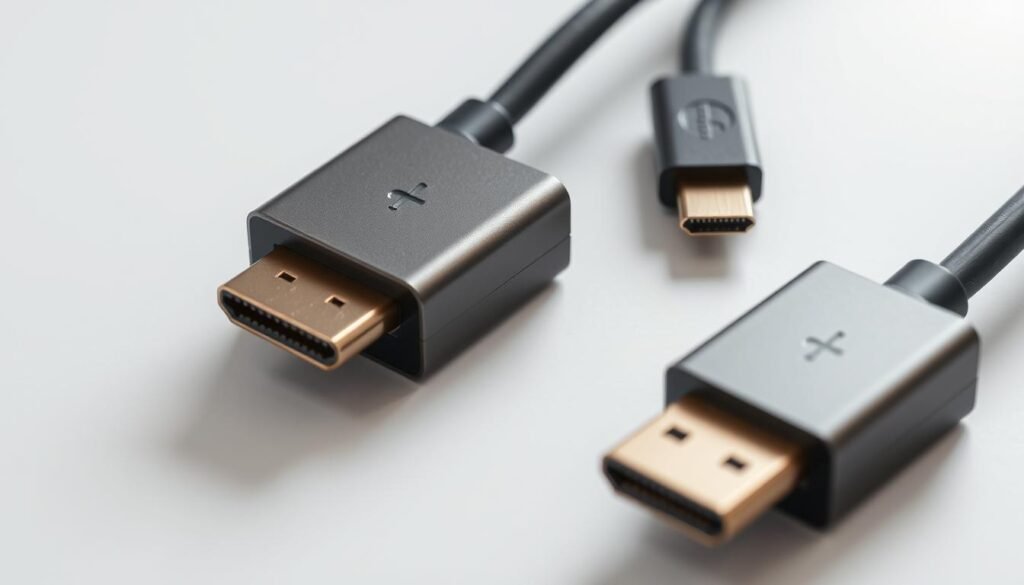
Serial ATA Vs Universal Serial Bus: Data Paths, Connectors, And Roles
The data path for internal drives uses dedicated lanes and L-shaped power/data connectors for alignment control. External ports are rectangular and marked by colors and icons that signal speed and often power capacity.
Power Delivery: Why Older Mechanical Hard Drives Need More Than A USB Dongle
Many 3.5‑inch mechanical hard drives need higher start‑up current than a simple dongle can supply. That creates brownouts, random disconnects, or drive vanish events.
Use an AC‑powered dock or a dual‑cable solution for these models. Good cables and quality bridge electronics reduce voltage drop and signal problems.
Compatibility Checks: SATA Vs SAS, USB Port Labels And Colors, And BitLocker Considerations
Verify the drive is a standard SATA device, not SAS; SAS uses different signaling and won’t work with consumer bridge boards. Prefer blue or red ports on the host for better speed and power. Rear motherboard ports usually provide steadier power than front panel jacks.
Note: Encrypted volumes remain protected. If BitLocker is active, the host will detect the drive but the data will stay locked without the recovery key or proper authentication.
- Try another cable or port to isolate faults.
- Check Disk Management or Disk Utility before assuming hardware failure.
- For deeper reads about connecting drives, see how to connect a drive and an intro on what is a sata-to-usb adapter.
SATA To USB Adapter DIY Guide: Wiring Diagrams, Parts, And Safer Build Options
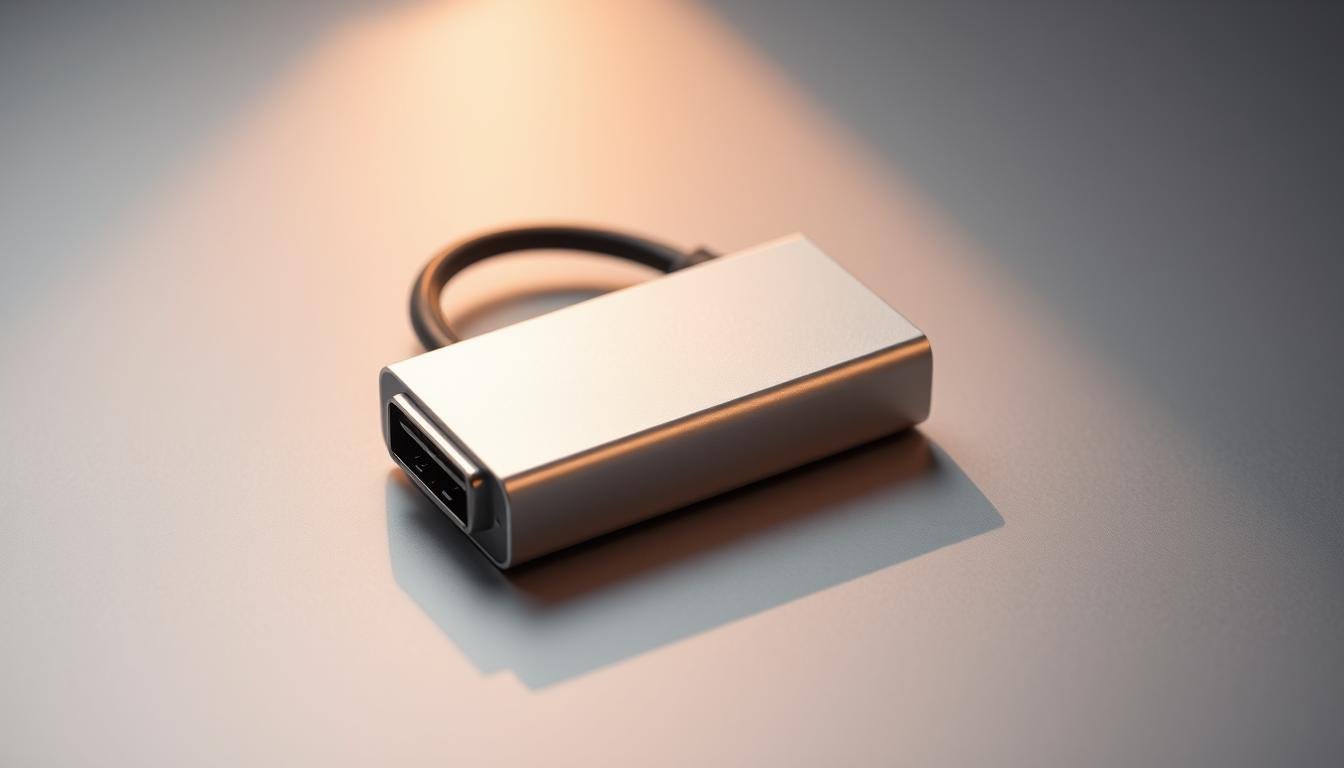
Start with parts and a plan. Gather a drive, a bridge board with a sata connector, a spare usb cable, a short sata cable, basic tools, and an enclosure. Label parts and confirm the drive is a consumer model, not SAS.

Required Parts And Wiring Basics
The bridge board silkscreen shows terminals. The red and black pair supply power. Green and white are the differential data pair that the controller maps internally.
Step-By-Step Build
- Cut one end of the spare usb cable and strip the outer jacket.
- Identify red, black, green, white conductors and tin tips.
- Solder red to the board power pad and black to ground. Insulate each joint with heat shrink.
- Attach the sata cable to the board, seat the drive, and secure inside an enclosure.
- Test with a spare drive and check that the host enumerates the device in OS tools.
Safer Alternatives And References
When risk is high: prefer a powered docking station or a powered enclosure for 3.5‑inch spinners. For stepwise connection help, see how to connect a drive.
Practical Use Cases, Troubleshooting, And Data Protection
Real-world use shows how power, ports, and proper handling decide success when connecting a drive.
Data Recovery And File Access
For recovery, first connect usb through a known-good port on the computer and confirm the device enumerates.
If BitLocker appears, unlock with the recovery key—do not assume corruption when a prompt shows.
When working on another OS, mount read-only and image the disk before altering partitions or files.

Repurposing Drives: External Storage, Laptop Backups, And Network Shares
A healthy hard drive makes a reliable external backup for a laptop or an always-on PC acting as a network share.
Schedule versioned copies and keep at least one offline copy to block ransomware from spreading across network shares.
Common Issues: Power Instability, Cable Quality, And Verifying Device Connections
- If the drive is not drive recognized, test with an AC-powered dock and try rear motherboard ports for steadier power.
- Frequent disconnects often point to thin or long cables; use thicker-gauge or shorter runs.
- Use Disk Management (Windows) or Disk Utility (macOS) to see the device even when the volume fails to mount.
“Verify the drive type and power source before assuming hardware failure; a known-good port and a powered dock solve many issues.”
| Use Case | Quick Check | Recommended Action |
|---|---|---|
| Data recovery | Device enumerates but volume locked | Unlock with recovery key; image drive read-only |
| Laptop backup | Drive recognized and healthy | Format with cross-platform filesystem; schedule backups |
| Network share | Drive visible on host | Assign stable share, keep offline copy, monitor heat |
Need more control? For a step-by-step video that shows how to connect disks over USB and test power rails, see connect disks over USB.
Conclusion
Summing up, the right balance of parts, power, and procedure preserves data and prevents avoidable failures.
Internal and external connector roles remain distinct: one handles internal storage signaling, the other provides host-side access. Matching the correct connector and using a capable board or a quality sata adapter keeps transfers stable.
A careful build with a proper bridge board and tidy cable work can save money. For 3.5″ hard drives, an AC‑powered dock or a protected enclosure is the safer choice when power demand is high.
Confirm the drive type (not SAS), use higher‑spec ports, and verify the device at the OS level before troubleshooting hardware. For extra help and wiring details, see how to build your own cable.