Building your own USB-C to HDMI adapter is a rewarding and practical project that allows you to connect USB-C-enabled devices to HDMI displays with ease. Whether you need to connect a laptop, smartphone, or tablet to a monitor, TV, or projector, creating a DIY adapter offers a cost-effective and customizable solution. This guide will walk you through the materials and tools needed, provide a step-by-step assembly process, and offer troubleshooting tips to ensure your adapter works as intended. Let’s dive in and explore how to make your very own USB-C to HDMI adapter from scratch!
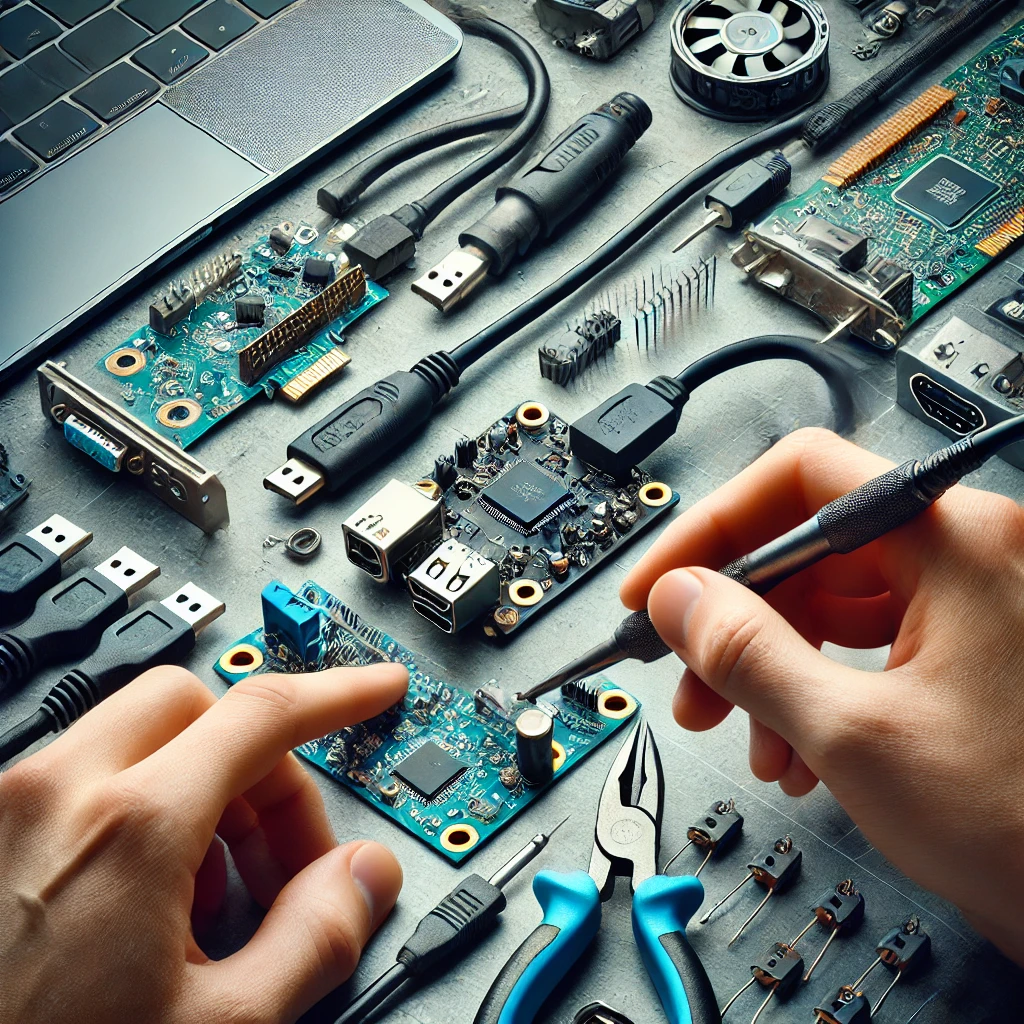
Materials and Tools Needed
Before you begin, make sure you have the following materials and tools to assemble your Type-C to HDMI adapter:
Materials:
- USB Type-C cable (preferably with a male Type-C connector on one end)
- HDMI male connector (with soldering pads)
- HDMI to Type-C signal converter chip (such as DisplayPort to HDMI IC)
- Microcontroller or adapter circuit board (to interface the USB-C and HDMI components)
- Heat shrink tubing (for cable protection)
- Electrical tape (optional for securing cables)
- Resistors and capacitors (as required for the converter circuit)
- Soldering iron and soldering wire
- Wire cutters and wire strippers
Tools:
- Soldering iron (for connecting the wires to the HDMI connector and circuit board)
- Hot glue gun (optional, for securing components)
- Multimeter (to check circuit continuity)
- Pliers (for cable management)
- Small screwdriver (for component assembly)
1. Understanding the Limitations of DIY USB-C to HDMI Adapters
Building your own USB-C to HDMI adapter can be an exciting project, but it’s essential to understand its limitations before diving in. While the process allows you to create a functional, low-cost solution, there are a few challenges and constraints that come with DIY adapters. Here are some of the main limitations to be aware of:
1.1. Video Resolution and Performance Limitations
One of the most significant limitations of a DIY USB-C to HDMI adapter is the potential for video quality and resolution issues. While commercial adapters are optimized for high-resolution video output, DIY adapters may struggle to support 4K video or higher resolutions. The quality of the signal converter chip you use and the overall construction of the adapter play a crucial role in achieving optimal performance.
- Resolution Support: Many DIY adapters can handle 1080p resolution with ease but might face challenges when trying to output 4K or 8K video. The limited processing power of inexpensive chips and improper wiring could cause the image to degrade or result in a poor viewing experience.
- Refresh Rate Issues: Even if you can get a decent resolution, the refresh rate may be limited, especially if the adapter lacks advanced signal conversion capabilities. This could cause issues, especially for high-refresh-rate displays or gaming.
1.2. Compatibility Issues
Not all USB-C ports are created equal. While USB-C is a standard connection, there are variations in its capabilities. For instance, some USB-C ports only support data transfer and charging, while others support DisplayPort Alternate Mode (DP Alt Mode) for video output. This distinction can make or break the performance of your USB-C to HDMI adapter.
- DisplayPort Alternate Mode: For video to pass through a USB-C port, the port must support DisplayPort Alternate Mode (DP Alt Mode). If your device’s USB-C port doesn’t support this feature, the adapter will not function as intended, and you may need a USB-C to DisplayPort adapter instead.
- Device Compatibility: Even if the USB-C port supports video, some older devices may lack the required drivers to output video over USB-C. This can create compatibility issues with the adapter, limiting its usefulness for certain devices.
1.3. Signal Degradation and Interference
With DIY adapters, there’s always a risk of signal degradation or interference, which can lead to poor-quality video and audio output. Unlike professionally manufactured adapters, which are carefully engineered to minimize signal loss, homemade versions may suffer from the following:
- Poor Cable Connections: Loose or improperly soldered connections can lead to signal loss or unstable video output.
- Interference: If the wires are not shielded properly, electromagnetic interference from nearby devices can corrupt the signal, causing flickering or distorted images.
- Cheap Components: Low-cost components, such as the HDMI converter chip, may not provide optimal performance, resulting in visual artifacts like pixelation or color distortion.
1.4. Limited Power Delivery
A commercial USB-C to HDMI adapter often provides power delivery (PD) to devices that require charging, such as laptops or smartphones, while simultaneously transmitting video. DIY adapters typically do not include this feature unless extra effort is made to include a power delivery chip.
- Charging Capability: If you’re building your own adapter, you might face difficulties providing power to devices while transmitting video. This could be a significant limitation if you’re using the adapter to connect a laptop or phone that requires charging while in use.
1.5. No Built-in Safety Features
Many off-the-shelf adapters include built-in safety features like over-voltage protection, over-current protection, and temperature control to prevent your devices from being damaged. When building your own adapter, there’s a chance these protective mechanisms are not included unless you actively incorporate them into the design.
- Device Safety: A poorly built DIY adapter might result in power surges, which could potentially damage your laptop, phone, or monitor.
- Protection: Without these safety features, your homemade adapter could overheat or become faulty, leading to potential hazards.
Step 1: Understand How USB Type-C to HDMI Works
Before diving into the construction process, it’s important to understand how USB Type-C interfaces with HDMI. USB Type-C is a versatile port that can carry various types of signals, including video, data, and power. However, HDMI, which is the standard for transmitting high-definition video and audio signals, requires a different type of signal.
The USB-C to HDMI adapter uses a signal converter chip to translate the video signal from USB-C (which uses DisplayPort Alternate Mode for video) to HDMI, allowing you to connect a USB-C-enabled device (such as a laptop or smartphone) to an HDMI-equipped display. The adapter needs to handle the conversion of the video signal, ensuring that the display receives the right video output.
Step 2: Prepare the USB Type-C Cable
Start by preparing your USB Type-C cable. Since you’ll be using it to connect your device to the adapter, you’ll need to strip the cable to expose the internal wires. Carefully strip about 2 inches of insulation from the USB-C cable to reveal the internal wires.
- Red wire: This is typically Vbus (power).
- Black wire: This is ground.
- White wire: This is D+ (data positive).
- Green wire: This is D- (data negative).
You’ll use these wires to connect to the HDMI signal converter chip and HDMI connector.
Step 3: Assemble the HDMI Connector
Next, take the HDMI male connector and prepare it for soldering. Most HDMI connectors will have pins that correspond to the HDMI signal lanes: TMDS data lanes, clock, and ground. Refer to the HDMI pinout diagram to understand the pin connections.
Carefully solder the exposed wires from the USB-C cable to the corresponding pins on the HDMI connector. You’ll need to solder the following connections:
- USB-C Vbus to the 5V pin of the HDMI connector (this provides power to the HDMI device).
- USB-C Ground to the GND pin on the HDMI connector.
- USB-C Data D+ and D- to the data lanes on the HDMI connector.
Be sure to double-check your connections with a multimeter to avoid incorrect wiring.
Step 4: Install the HDMI to Type-C Signal Converter Chip
The most critical part of your DIY adapter is the signal converter chip. This chip will convert the DisplayPort signal from the USB-C cable to HDMI. The converter chip will typically have four primary connections: power (5V), ground, and the two data lanes (for video).
- Power (5V) and Ground: Solder these connections to the corresponding pins of the USB-C cable.
- Data Lanes: Connect the DisplayPort lanes (from the USB-C cable) to the HDMI converter chip, following the chip’s documentation or datasheet.
Step 5: Solder and Secure the Connections
After securing the wires to the HDMI connector and signal converter chip, proceed to carefully solder all the connections. Make sure the soldering is neat and clean to avoid any shorts or incorrect connections.
Once all components are soldered into place, use heat shrink tubing to protect the wires and connections. You can also apply a bit of electrical tape to secure everything further if necessary.
Step 6: Test the DIY USB-C to HDMI Adapter
Now that your DIY USB-C to HDMI adapter is assembled, it’s time to test it! Connect the USB-C end to a USB-C-enabled device (such as a laptop or smartphone) and the HDMI end to a monitor, TV, or projector. Power on your device and display to check if the adapter works.
- Check for signal quality: The video should appear clearly on the display without distortion.
- Test audio output: Ensure that audio is transmitted alongside the video.
If you experience any issues, use your multimeter to double-check the connections, particularly for any short circuits or faulty solder joints.
Troubleshooting Tips
If the adapter is not working properly, consider the following troubleshooting tips:
- Check the wiring: Make sure all connections are properly soldered and not loose.
- Inspect the signal converter: If the video signal isn’t being transmitted, the issue could be with the converter chip. Make sure you used the correct chip for your USB-C to HDMI conversion.
- Test with different devices: Ensure the issue isn’t related to the device you’re using (e.g., the USB-C port or HDMI cable might be faulty).
Final Thoughts: Building a DIY USB-C to HDMI Adapter with Confidence
Creating your own USB-C to HDMI adapter from scratch is an exciting and rewarding project that allows you to repurpose old components while gaining hands-on experience with electronics and video technology. By following the steps outlined in this guide, you now have a solid understanding of how to prepare the necessary materials, assemble the components, and troubleshoot any common issues.
Although DIY adapters have limitations—such as performance restrictions and compatibility concerns—building one yourself can be a great way to customize your tech setup, save money, and expand your skills. With the right tools, careful assembly, and attention to detail, you can create an adapter that works well for everyday tasks like connecting your laptop to a HDMI display for presentations or media streaming.
Remember, there may be challenges along the way, but they’re part of the learning process. Whether you encounter signal degradation or compatibility issues, troubleshooting these problems is a fantastic opportunity to deepen your understanding of how USB-C and HDMI work together.
We hope this guide has provided you with valuable insights to help you confidently complete your DIY USB-C to HDMI adapter project.
Additional Resources
These additional resources will expand your knowledge of USB adapters and video output technologies, offering you practical advice and in-depth comparisons to help with your DIY projects.