Building your own USB-C to HDMI adapter is a practical and rewarding project that allows you to save money and gain valuable hands-on experience with electronics. Whether you’re connecting a laptop to a TV, a tablet to a projector, or any other USB-C-enabled device to an HDMI display, creating a DIY adapter offers an affordable and customizable solution. In this guide, we’ll walk you through everything you need, from the materials required to the step-by-step assembly process, ensuring you can build a high-quality and functional adapter. Let’s dive into the world of DIY tech and explore how to create your very own USB-C to HDMI adapter!
1. Exploring the Benefits of a DIY USB-C to HDMI Adapter
Building your own USB-C to HDMI adapter comes with several compelling benefits that make the effort worthwhile. Whether you’re a tech enthusiast, a hobbyist, or just looking for a cost-effective solution, here are some key advantages to creating a DIY adapter:
1.1. Cost-Effectiveness
One of the biggest advantages of building your own USB-C to HDMI adapter is the potential cost savings. While pre-made adapters can range from $20 to $50 or more, making your own can often be much cheaper. By sourcing the components individually, you can minimize costs and even repurpose existing cables and parts that you might already have at home.
- Repurposing old hardware: If you have old cables lying around, like a spare USB-C cable or HDMI connectors, you can reuse these, further reducing the cost of the project.
- Cost flexibility: Depending on the components you choose, you can adjust the price of the adapter based on your budget and needs.
1.2. Customization
Building a USB-C to HDMI adapter gives you the opportunity to customize the design to fit your exact needs. You can choose the length of the cables, the materials, and even the specific functionality.
- Cable length: If you need a longer or shorter cable to fit your setup, you can adjust the cable length to suit your space or usage requirements.
- Design flexibility: You can use higher-quality components (such as gold-plated connectors) or integrate additional features like power delivery or 4K resolution support, depending on your requirements.
1.3. Learning Experience
Undertaking a DIY project like this not only saves money, but it also offers a valuable learning experience. Building a USB-C to HDMI adapter from scratch teaches you about electronics, soldering, and the inner workings of how USB-C and HDMI communicate. This knowledge can be helpful in future DIY projects or troubleshooting tasks.
- Electronics skills: The process helps you improve your soldering and wiring skills, and you’ll become familiar with using tools like a multimeter to troubleshoot issues.
- Understanding connectivity: You’ll gain a deeper understanding of how modern devices transfer data and video, and how different standards (like USB-C, DisplayPort, and HDMI) interact with each other.
1.4. Satisfaction of Building Something Yourself
There’s a certain satisfaction that comes with building something from scratch. Being able to create your own USB-C to HDMI adapter, rather than relying on off-the-shelf solutions, is an accomplishment in itself. Whether you’re connecting a laptop to a TV for movie night or setting up a projector for a presentation, knowing that you created the adapter gives you a sense of pride and ownership.
- Personalization: When you use your DIY adapter, you know it’s been tailored to fit your specific setup.
- Sense of achievement: Building the adapter gives you hands-on experience and a tangible product that functions exactly as you intended.
1.5. Better Understanding of Technology
Through the process of making the adapter, you will better understand the technology behind USB-C, HDMI, and video signal conversion. This deeper understanding can help you troubleshoot problems with devices that use these ports and improve your ability to adapt to future technological advancements.
- Troubleshooting: If you encounter issues with video output, your understanding of the technology will help you resolve those problems efficiently.
- Future upgrades: As technology evolves, you’ll be better equipped to upgrade your homemade adapter to support new standards (like USB4 or Thunderbolt 4).
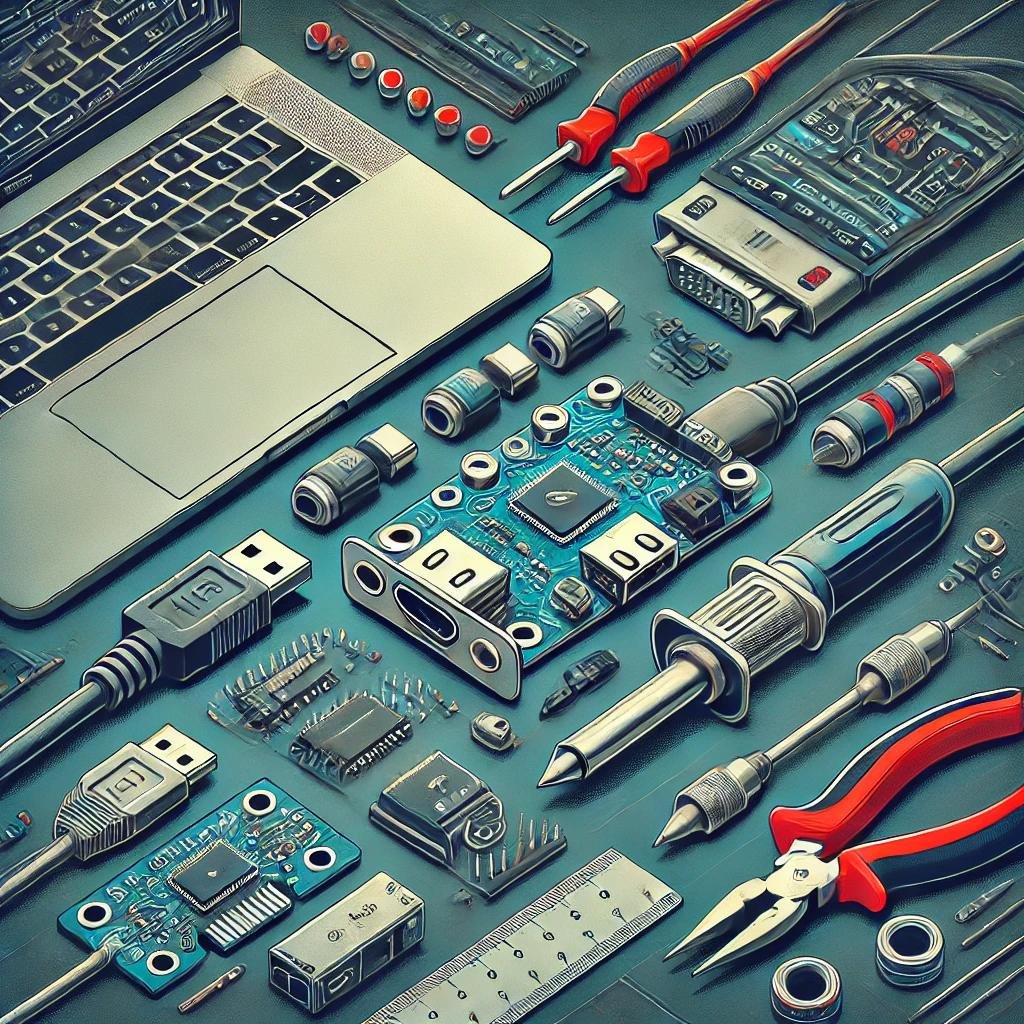
Materials Needed
Before you start, it’s important to gather all the necessary materials. Here’s a list of what you’ll need to build your own Type-C to HDMI adapter:
1. USB Type-C Cable
A USB Type-C cable is the foundation of the adapter. Choose one with a male Type-C connector on one end to connect to your device. This cable will serve as the data and power carrier.
2. HDMI Male Connector
You’ll need a HDMI male connector with soldering pads. This is where you’ll connect the other end of your USB-C to HDMI adapter to the display device (monitor, TV, or projector).
3. Signal Converter Chip
The signal converter chip is the core of your USB-C to HDMI adapter. You need a DisplayPort to HDMI IC (integrated circuit) chip that will convert the digital signal from the USB-C port into a compatible HDMI signal.
4. Microcontroller or Circuit Board
This will help you interface between the USB-C cable and the HDMI connector. The microcontroller or circuit board handles the signal conversion and ensures that your components work together properly.
5. Resistors and Capacitors
You may need some basic resistors and capacitors for filtering and stabilizing the signal as it passes through the circuit. These are typically included in any good USB-C to HDMI adapter circuit board kit.
6. Soldering Tools
You’ll need a soldering iron, solder wire, and soldering flux to make the connections between the different parts. A soldering iron with a fine tip is ideal for working with small, delicate components.
7. Heat Shrink Tubing and Electrical Tape
Once the connections are made, use heat shrink tubing to protect the solder joints and cables. Electrical tape can be used to secure any exposed areas and protect them from wear and tear.
8. Wire Cutters and Strippers
Wire cutters and strippers will help you prepare the cables, especially when you need to expose the internal wires of the USB-C cable.
Step-by-Step Instructions for Building Your USB-C to HDMI Adapter
Now that you have all the materials ready, follow these step-by-step instructions to build your USB-C to HDMI adapter.
Step 1: Prepare the USB-C Cable
The first thing you need to do is strip the USB-C cable to expose the internal wires. Use a wire stripper to remove about 2 inches of the outer insulation carefully.
You should see four main wires inside:
- Red wire (Vbus – Power)
- Black wire (Ground)
- White wire (D+ – Data Positive)
- Green wire (D- – Data Negative)
You’ll need these wires for connecting to the HDMI connector and signal converter.
Step 2: Solder the HDMI Male Connector
Now, you’ll connect the wires from your USB-C cable to the HDMI male connector. Refer to the HDMI pinout diagram to understand where each wire needs to be connected.
- Red (Vbus) wire connects to the 5V pin on the HDMI connector.
- Black (Ground) wire connects to the GND pin.
- White (D+) and Green (D-) wires connect to the video data lanes on the HDMI connector.
Make sure you’re soldering the wires properly and securely, as weak connections can result in poor signal quality.
Step 3: Install the Signal Converter Chip
The signal converter chip is the heart of the USB-C to HDMI adapter, converting the DisplayPort signal from USB-C to an HDMI-compatible format. Depending on the chip you purchase, the connections will vary slightly, but generally, you’ll need to connect the following:
- Power and Ground from the USB-C cable to the chip’s 5V and GND pins.
- Data lines (D+ and D-) from the USB-C cable to the chip’s video input pins.
- HDMI output from the chip to the corresponding HDMI pins.
Take extra care during soldering and ensure there are no short circuits between pins. This step is crucial to ensure your adapter will work properly.
Step 4: Assemble the Adapter
Once you’ve connected the wires to the HDMI connector and signal converter, carefully organize everything. Use heat shrink tubing to insulate the exposed wires and prevent shorts or damage to the adapter. You can also use electrical tape for added protection and organization of cables.
Ensure that the adapter’s components are securely attached to prevent them from coming loose during usage.
Step 5: Test Your Adapter
Before you finalize everything, it’s essential to test the adapter to ensure it works correctly. Follow these steps:
- Connect the USB-C end of the adapter to a USB-C-enabled device (like a laptop or smartphone).
- Connect the HDMI end to an HDMI-enabled display (monitor, projector, TV).
- Power on both devices to check if the display is transmitting a signal correctly.
If the adapter isn’t working as expected, troubleshoot by checking the connections, inspecting the signal converter chip, and testing with different devices.
Troubleshooting Tips
If your USB-C to HDMI adapter doesn’t work right away, consider these common troubleshooting tips:
- No Signal: Double-check that your device’s USB-C port supports DisplayPort Alternate Mode. Not all USB-C ports are capable of video output.
- Poor Resolution: If you’re seeing a blurry or pixelated screen, it could be due to the low-quality signal converter chip. Opt for a more advanced chip if necessary.
- No Audio: If you’re getting video but no sound, make sure that both your device and display support audio over HDMI.
Final Thoughts: A Rewarding DIY Project
Building your own USB-C to HDMI adapter is a practical and rewarding project that allows you to save money, customize your setup, and gain valuable hands-on experience with electronics and video technology. By following the steps in this guide, you can successfully create an adapter that suits your specific needs, whether you’re connecting a laptop to a TV, a tablet to a projector, or any other USB-C-enabled device to an HDMI display.
Although DIY projects come with their own set of challenges, such as dealing with signal quality and ensuring proper compatibility, the satisfaction of completing this project far outweighs any difficulties you may encounter. Additionally, the skills you gain in soldering, wiring, and understanding USB-C and HDMI technology will prove beneficial in future tech projects.
With careful attention to detail and the right tools, you’ll have a functional, customized USB-C to HDMI adapter that performs just as well as a commercial version—at a fraction of the cost.
We hope this guide has given you the knowledge and confidence to build your own adapter. Happy building, and enjoy the world of DIY technology!
Additional Resources
- What is USB-C? The Complete Guide to Universal Serial Bus Type-C Technology
- Building Your Own USB-C to HDMI Adapter: A DIY Guide
These additional resources will provide further insights into the world of adapters, helping you explore more DIY projects or understand the underlying technology.


