Creating a homemade SATA to USB wiring solution can be an exciting and cost-effective way to repurpose old hard drives. This step-by-step guide will walk you through the process, ensuring a functional and safe setup.
A. What Is SATA to USB Wiring and Why Is It Useful?
SATA (Serial ATA) and USB (Universal Serial Bus) are foundational technologies in modern computing, each serving distinct purposes. SATA is primarily used for internal data storage connections, offering high-speed performance and reliability in devices such as hard drives (HDDs) and solid-state drives (SSDs). USB, on the other hand, provides a versatile and universally compatible external interface, enabling data transfer, device charging, and peripheral connectivity.
SATA to USB wiring refers to the process of creating a bridge between these two interfaces, allowing internal SATA storage devices to connect to a computer via a USB port. This setup is particularly useful for repurposing old hard drives, performing data recovery, or constructing custom external storage solutions. With the right tools and knowledge, this wiring solution provides an affordable and flexible alternative to store-bought adapters and enclosures.
B. Essential Tools and Materials for a Successful Build
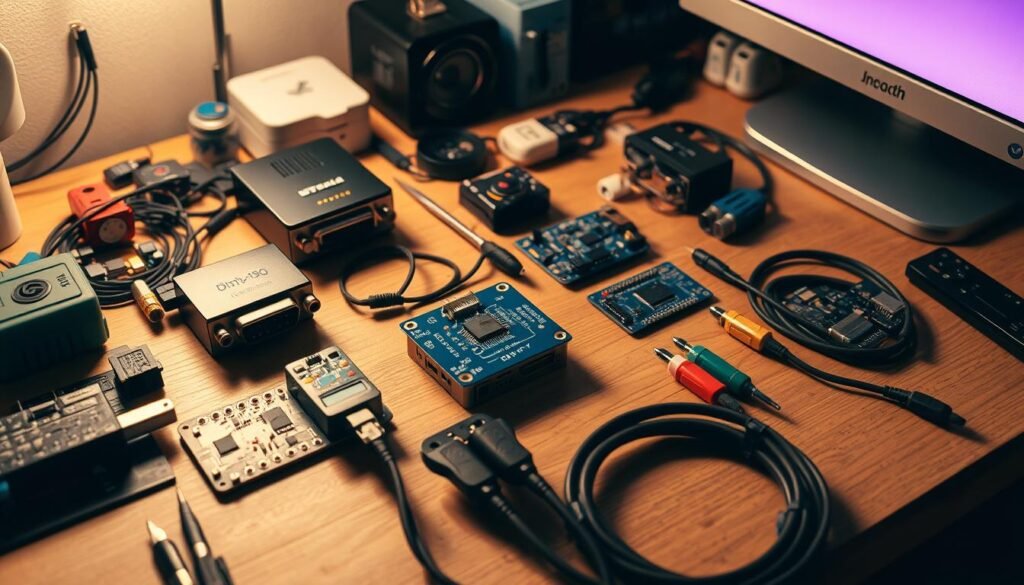
To ensure a smooth and successful project, it’s vital to gather all the necessary tools and materials beforehand. This preparation will save time and help avoid errors during the wiring process:
- SATA to USB Adapter or Wiring Kit: These kits simplify the process by providing pre-tested components, but you can also assemble individual parts for a fully customized solution.
- SATA Connector: Select a connector that matches the size and type of your drive, such as a 2.5-inch SSD or a 3.5-inch desktop HDD. Compatibility ensures stable and reliable connections.
- USB Connector: Choose a USB 3.0 or USB-C connector for optimal data transfer speeds and compatibility with modern devices. Ensure the connector type matches your computer’s USB ports.
- Power Supply: Essential for powering larger 3.5-inch drives, which cannot rely solely on USB power. A stable and compatible power supply prevents drive failure or data corruption.
- Soldering Kit: A high-quality soldering iron, solder, and flux are necessary for making precise and secure connections between wires. This ensures the longevity and reliability of your setup.
- Heat Shrink Tubing: Provides durable insulation for exposed wires, protecting against shorts and wear over time. It’s a key element in ensuring safety and a professional finish.
- Multimeter: An indispensable tool for verifying connections, checking voltage levels, and ensuring there are no open circuits or shorts in your wiring.
- Wire Strippers: Use these to cleanly and efficiently strip insulation from wires, preparing them for soldering without damaging the conductors.
- Electrical Tape: Adds an extra layer of insulation and protection for soldered connections, reinforcing the integrity of your wiring.
C. Understanding the Wiring Diagram: Mapping the Connection
Before starting your project, it is essential to understand the core components of the SATA to USB connection and how they interact. This ensures a clear understanding of the process and helps avoid common mistakes:
- SATA Pin Layout: SATA connectors consist of three distinct sections: power, ground, and data. The power pins provide the necessary voltage, while the ground pins stabilize the connection. Data pins handle the transmission of information between the drive and the computer. Properly identifying these pins is essential for ensuring the drive functions as expected.
- USB Pin Layout: USB connectors typically include four or more pins based on their type (e.g., USB 2.0, USB 3.0, or USB-C). Key pins include power (VCC), ground (GND), and data lines (D+ and D-). For USB 3.0 and above, additional pins enable faster data transfer and increased power delivery, making them ideal for modern setups.
- Power Requirements: Proper power delivery is critical for the safe operation of your drive. Larger 3.5-inch drives typically require an external power source due to their higher voltage and amperage needs, while smaller 2.5-inch drives can often operate directly from USB power. Always ensure your power supply matches the specifications of your drive to prevent damage or performance issues.
A detailed SATA to USB wiring diagram is essential for visualizing the connections and ensuring accuracy. This diagram should clearly illustrate how the SATA power and data pins align with their corresponding USB counterparts, minimizing the risk of errors during the wiring process.
D. Step-by-Step Instructions: Building Your SATA to USB Setup
To create a functional and reliable homemade SATA to USB wiring setup, follow these carefully outlined steps. Each stage ensures a safe and effective connection between your SATA drive and USB interface:
- Prepare the Components:
- Use a wire stripper to carefully expose the required wires from both the SATA and USB connectors without damaging the conductors.
- Pre-cut heat shrink tubing and slide it over the wires to simplify insulation after soldering.
- Identify Pins:
- Refer to your wiring diagram to match the correct pins on the SATA connector with their counterparts on the USB connector.
- Pay close attention to the power (VCC), ground (GND), and data (D+ and D-) pins to ensure proper functionality and avoid wiring errors.
- Solder the Connections:
- Apply flux to the exposed wires to facilitate clean and stable soldering.
- Using a soldering iron, carefully attach the SATA pins to their respective USB pins, ensuring a secure bond for each connection.
- Let each soldered joint cool completely before proceeding to the next to maintain strong and reliable connections.
- Insulate the Wires:
- Cover each soldered joint with heat shrink tubing, then use a heat gun or lighter to shrink the tubing snugly around the connection for durability.
- Use electrical tape to wrap any additional exposed areas, ensuring no metal parts remain exposed to prevent short circuits.
- Test the Connections:
- With a multimeter, test each connection for continuity to confirm there are no shorts or open circuits.
- Check that the power supply delivers the correct voltage and amperage needed for your drive type, ensuring stable operation.
- Connect and Test the Drive:
- Attach your completed SATA to USB wiring setup to your computer’s USB port and connect the SATA drive.
- Monitor your operating system to ensure the drive is recognized. If issues arise, revisit your wiring connections and test again with the multimeter.
E. Common Challenges and Solutions: Overcoming Potential Issues
- Drive Not Recognized:
- Carefully review the wiring connections, ensuring that each pin on the SATA and USB connectors aligns accurately based on the wiring diagram.
- Confirm the power supply meets the voltage and amperage requirements of your drive. An inadequate power source is a common cause of recognition issues.
- Slow Transfer Speeds:
- Use a USB 3.0 or USB-C connector to maximize data transfer speeds, as older USB 2.0 standards may result in slower performance.
- Check the specifications of your SATA drive to ensure it supports the expected data transfer rates. Upgrading cables or connectors may be necessary for optimal performance.
- Overheating:
- Provide adequate ventilation to the drive during use, especially for high-capacity 3.5-inch HDDs that generate significant heat.
- Consider installing a small cooling fan or placing the drive in a ventilated external enclosure to maintain safe operating temperatures during extended use.
F. Safety Tips: Ensuring a Secure and Reliable Build
- Avoid Short Circuits: Inspect and verify all wiring connections thoroughly before connecting the power supply. Use a multimeter to ensure no short circuits exist, which could damage your components or pose safety risks.
- Work in a Well-Ventilated Area: Always perform soldering in a space with proper ventilation to avoid inhaling potentially harmful fumes. Consider using a fume extractor or working near an open window for additional safety.
- Handle Components with Care: Protect sensitive electronic components from static electricity by wearing an anti-static wrist strap or grounding yourself before handling the drive or connectors. Static discharge can irreparably damage electronic parts.
- Use Proper Insulation: Apply heat shrink tubing or electrical tape to all exposed connections to prevent accidental contact. Proper insulation not only ensures safety but also enhances the durability and reliability of your wiring setup.
G. Real-World Applications of SATA to USB Conversions
- Data Recovery: Use SATA to USB conversions to access and recover files from old or malfunctioning drives, providing a cost-effective solution for data retrieval.
- Backup Solutions: Repurpose old SATA drives into portable external drives for backups, offering an economical way to secure important data.
- IT Diagnostics and Repairs: IT professionals can use SATA to USB setups to quickly diagnose issues, perform repairs, or test drives without opening up a system.
H. Comparing Homemade Solutions with Store-Bought Adapters
- Cost Savings: Homemade solutions are often more affordable than purchasing pre-made adapters, especially if you have spare components.
- Customization: DIY projects allow for tailored lengths, configurations, and specific requirements not always met by store-bought adapters.
- Performance and Reliability: Pre-made adapters often have integrated chipsets for signal conversion, ensuring compatibility and performance, while DIY setups depend on precise execution.
I. Future-Proofing Your Setup
- Adopting USB-C Standards: Use USB-C connectors for higher data speeds and better compatibility with future devices.
- Exploring SATA to NVMe Conversions: Upgrade to NVMe adapters for significantly faster storage options when dealing with newer drives.
- Maintaining DIY Solutions: Regularly inspect and maintain your wiring setup to ensure durability and consistent performance.
Turning Your SATA to USB Project into a Practical Solution
Creating a homemade SATA to USB wiring solution can be a rewarding and practical project for tech enthusiasts. By following this step-by-step guide, you can repurpose old drives, recover data, or build your own external storage device. With the right tools, careful preparation, and attention to detail, you’ll have a functional setup that meets your needs.
Additional Resources
- USB Power Adapters: Everything You Need to Know
- Understanding SATA Power and Data Connectors
Learn about the intricacies of SATA connections and their compatibility with various devices.


