USB-C to HDMI adapters are essential for connecting modern devices like laptops, tablets, and smartphones to HDMI-enabled displays such as monitors, projectors, and TVs. While pre-made adapters are readily available, many tech enthusiasts enjoy the challenge and cost-effectiveness of building their own USB-C to HDMI adapters. Whether you want to customize the adapter for your specific needs or simply enjoy DIY projects, creating your own USB-C to HDMI adapter can be a rewarding and educational experience.
In this guide, we’ll walk you through the process of building your own USB-C to HDMI adapter, from selecting the necessary materials to assembling the components. With a bit of patience and technical knowledge, you’ll be able to create a functional adapter that allows you to connect your USB-C devices to HDMI displays seamlessly.
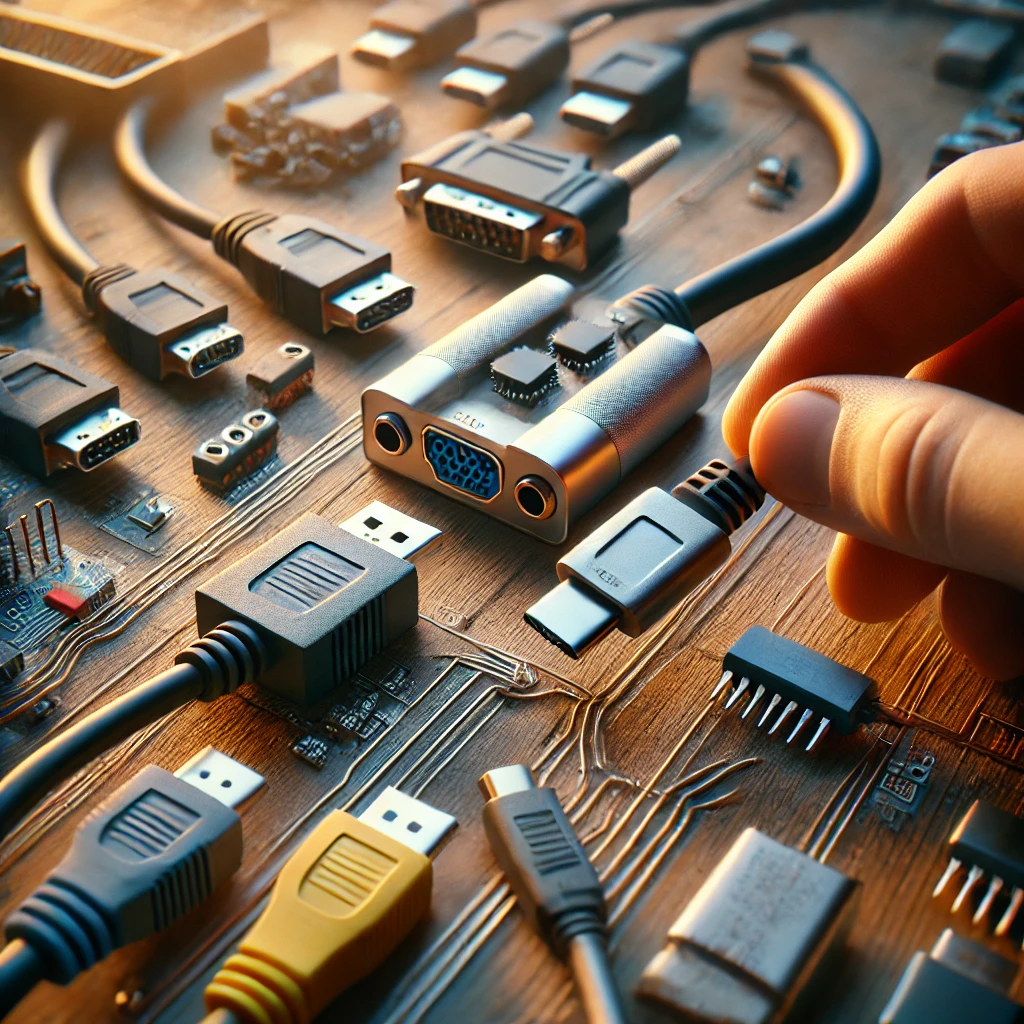
Materials Needed
Before you begin, gather the following materials to build your DIY USB-C to HDMI adapter:
- USB-C Male Connector – To plug into the USB-C port of your device.
- HDMI Male Connector – To plug into your HDMI-compatible display.
- USB-C Cable – To connect the USB-C male connector to your device.
- HDMI Cable – To connect the HDMI male connector to your display.
- Soldering Iron and Solder – For soldering the wires and connectors.
- Multimeter – For testing and verifying the connections.
- Wire Strippers – To strip the wire insulation for proper connections.
- Heat Shrink Tubing or Electrical Tape – To insulate and protect the connections.
- Small Screwdriver – To assemble the components if needed.
Exploring Different USB-C Versions and Their Compatibility
USB-C has rapidly become the standard connector for modern devices, offering a small, reversible design that supports data transfer, power delivery, and video output all in one port. However, not all USB-C connectors are created equal. There are multiple versions of the USB-C specification, each with varying capabilities regarding data transfer speeds, power delivery, and video output support. Understanding these differences is key to ensuring your DIY USB-C to HDMI adapter works effectively with your devices.
In this section, we’ll break down the different USB-C versions and explain how they affect compatibility with HDMI adapters, as well as what you need to know to choose the right version for your project.
USB-C 3.1 Gen 1 (5Gbps)
The USB-C 3.1 Gen 1 version, sometimes referred to as USB 3.0, offers a maximum data transfer speed of 5Gbps. This version is widely available in older laptops, smartphones, and tablets and is suitable for many standard use cases, such as file transfers and connecting peripherals. While it supports video output via DisplayPort Alternate Mode (DP Alt Mode), it is not ideal for higher-end video applications like 4K gaming or video streaming due to its lower bandwidth.
Compatibility Considerations:
- Basic Video Output: If you need a simple connection for 1080p video to an HDMI display, USB-C 3.1 Gen 1 will likely suffice.
- Limited Power Delivery: This version provides up to 15W of power delivery, which is enough for basic power needs but may struggle with devices that require more power, such as high-resolution displays or high-powered peripherals.
USB-C 3.1 Gen 2 (10Gbps)
The USB-C 3.1 Gen 2 version doubles the data transfer speed to 10Gbps, which opens up possibilities for more demanding tasks such as high-speed file transfers, fast charging, and video streaming. USB 3.1 Gen 2 supports 4K video output, making it a good choice for connecting your device to HDMI-enabled displays with high-definition video.
Compatibility Considerations:
- 4K Video Output: If you want to connect to an HDMI display with 4K resolution (up to 60Hz), USB-C 3.1 Gen 2 is a solid option, ensuring smoother video playback and better visual quality.
- Increased Power Delivery: This version can support up to 100W of power delivery, allowing it to charge devices like laptops, while also supporting more demanding accessories like external hard drives or multi-monitor setups.
USB-C 3.2 (20Gbps)
The USB-C 3.2 version, also known as USB 3.2 Gen 2×2, offers even faster data transfer speeds of up to 20Gbps. While it is not as widely available as USB-C 3.1, USB 3.2 is emerging in newer devices like high-end laptops and smartphones. This version is beneficial for applications that require fast data transfer speeds, such as high-speed data backups or ultra-high-definition video streaming.
Compatibility Considerations:
- Supports High-Definition Video: USB-C 3.2 offers robust support for 4K and 8K video output, making it suitable for high-end displays. It can handle multi-display setups or demanding video applications like 4K gaming.
- Power Delivery for Larger Devices: With up to 100W of power delivery, USB-C 3.2 can easily power larger devices such as laptops, workstations, or power-hungry monitors while simultaneously transmitting data and video signals.
USB4 (40Gbps)
USB4 is the latest version of the USB-C specification, offering lightning-fast 40Gbps data transfer speeds. USB4 is compatible with Thunderbolt 3 and supports high-definition video, multi-display setups, and high-speed data transfers. As this technology becomes more mainstream in newer laptops and desktop computers, it will likely become the standard for high-performance video and data tasks.
Compatibility Considerations:
- 8K and Multi-Display Support: USB4 is capable of driving up to two 4K displays or even a single 8K display at 60Hz, making it ideal for professional video setups or high-end gaming systems.
- Maximum Power Delivery: USB4 supports up to 100W of power delivery, making it suitable for high-power devices like laptops, gaming monitors, or powerful external displays.
How USB-C Versions Affect Your DIY USB-C to HDMI Adapter
When building your DIY USB-C to HDMI adapter, it’s crucial to consider the version of USB-C supported by your device. Here’s how each version might impact your project:
- Video Output Quality: If you intend to use your adapter for 4K video output or higher, choose a USB-C version that supports higher bandwidth, such as USB 3.1 Gen 2 or USB 3.2. While USB-C 3.1 Gen 1 might work for 1080p, it’s not ideal for higher resolutions.
- Power Needs: Higher versions like USB-C 3.2 and USB4 provide more power delivery (up to 100W), which is essential for powering larger displays or devices like laptops. If your DIY adapter requires additional power, make sure your USB-C version can deliver enough to support your needs.
- Compatibility: Not all USB-C ports support DisplayPort Alternate Mode (DP Alt Mode) for video output. If your device is an older model or doesn’t support video output via USB-C, your DIY adapter may not work without using additional converters or hardware.
Understanding USB-C Versions for Your DIY Adapter
Understanding the differences between USB-C versions is crucial when building a DIY USB-C to HDMI adapter. Whether you’re dealing with 1080p displays or need to support 4K and 8K resolutions, selecting the right version will ensure that your adapter works as expected. For those working with high-definition displays or multiple monitor setups, it’s recommended to use USB-C 3.1 Gen 2 or higher to ensure compatibility with demanding video and power requirements.
By knowing the limitations and advantages of each USB-C version, you can build an adapter that not only works seamlessly but also provides optimal performance for your specific needs.
Step 1: Understanding the Wiring Process Based on Your USB-C Version
To build a USB-C to HDMI adapter, you’ll need to connect the proper pins from the USB-C connector to the HDMI connector. Here’s an overview of the signal flow:
- USB-C Connector: The USB-C connector has several pins, but for this project, you’ll focus on the video signal pins and the ground pin.
- HDMI Connector: HDMI connectors also have multiple pins for transmitting video, audio, and other data. The video signal and ground pins from the USB-C must be wired to their corresponding pins on the HDMI connector.
Make sure to check the pinout diagrams for both connectors to ensure the correct connections.
Step 2: Preparing the Components
- Cut and Strip the Cables: Start by cutting the USB-C and HDMI cables to the desired length. Use the wire strippers to remove a small section of the insulation from the ends of each wire to expose the individual conductors.
- Identify the Wires: On the USB-C cable, identify the pins that will carry the video signals and ground. These will need to be connected to their corresponding pins on the HDMI cable.
- For the USB-C to HDMI conversion, the video signal typically uses the DisplayPort Alternate Mode (also known as DP Alt Mode) from the USB-C port.
- Ensure you understand the correct pinout for each type of connector.
Step 3: Solder the Connections
- USB-C to HDMI Wiring: Using your soldering iron, carefully solder the wires from the video output pins of the USB-C connector to the video input pins of the HDMI connector. You will also need to connect the ground pin of the USB-C connector to the ground pin of the HDMI connector.
- Insulate the Wires: Once the connections are soldered, use heat shrink tubing or electrical tape to protect the exposed wires and prevent short circuits.
Step 4: Assemble the Adapter
- Finalizing the Connections: After soldering the necessary pins and insulating the wires, assemble the components by placing the connectors in their respective housings. Secure the connectors in place using a small screwdriver if necessary. Ensure that there is no strain on the wires and that the connections are firm.
- Test the Adapter: Before finalizing the project, use a multimeter to check for continuity and confirm that all connections are properly made. This step ensures that there are no faulty connections or shorts in the adapter.
Step 5: Testing the DIY Adapter
- Connect Your Devices: Plug the USB-C end of the adapter into your device (laptop, tablet, or smartphone) and the HDMI end into your HDMI-enabled display (TV, monitor, or projector).
- Check for Video Output: Turn on both devices and check if the video output is successfully transmitted. You may need to adjust your device display settings to ensure the correct resolution and output format.
- Troubleshooting: If the video doesn’t display correctly, check your soldering and wiring connections to make sure everything is securely attached. Also, verify that your device supports video output via USB-C (some devices may not support video output via USB-C, so it’s essential to check compatibility).
Step 6: Optional Enhancements
- Power Supply: Some DIY adapters may require an external power source to ensure stable signal conversion, especially if you’re working with 4K displays. If your adapter isn’t working as expected, consider adding a USB-C power input for additional power.
- Test Different Resolutions: After successful video output, try different resolutions (1080p, 4K, etc.) to see how the adapter handles various display options. If you’re using a high-definition monitor or TV, ensure that the adapter supports the required resolution.
Common Challenges and Solutions
- Signal Loss or Quality Degradation: If you notice a degraded image quality or signal loss, ensure that your soldered connections are tight and that the cables used are high-quality. Cheap cables can lead to poor signal transmission.
- No Video Output: If there’s no video output, check the compatibility of your USB-C device. Some devices may not support video out over USB-C, especially older models.
- Adapter Doesn’t Power On: Ensure the correct power supply is connected, especially when using high-power displays like 4K monitors.
Final Thoughts: Wrapping Up Your DIY USB-C to HDMI Adapter Project
Building your own DIY USB-C to HDMI adapter is a practical and rewarding project that allows you to repurpose existing hardware while gaining valuable hands-on experience in electronics. By understanding the different USB-C versions and their compatibility with HDMI, you’ve ensured that your adapter will perform efficiently, whether you’re using it for 1080p displays, 4K streaming, or other high-definition uses.
With the right materials, clear wiring instructions, and a bit of patience, you can create a fully functional USB-C to HDMI adapter for your devices. This guide has walked you through each step of the process, from preparing the components to troubleshooting any issues that may arise.
Now that you’ve mastered the basics of building your own USB-C to HDMI adapter, you can explore additional DIY projects or further enhance the performance of your adapters with optional features. Enjoy the satisfaction of creating a custom solution tailored to your specific needs!


