Modern devices rely on versatile ports that handle power, data, and video. This guide explains how a compact connector carries DisplayPort signals while the familiar HDMI format delivers high-definition audio and video to TVs, monitors, and projectors.
Readers will find clear steps for making reliable connections, choosing the right cable or adapter, and optimizing screen and audio settings. It previews practical DIY builds, required parts, safety practices, and pinout checks for safe soldering and testing.
The introduction also flags key compatibility notes: not every port supports video output, so check for DisplayPort Alt Mode or Thunderbolt before attempting a link. For 4K at 60 Hz, use high-quality HDMI 2.0 cables to avoid flicker and dropouts.
For a full parts list and wiring diagrams, see the detailed project post at building your own usb-c to hdmi. This long-form resource aims to help hobbyists and pros get stable, high-quality video output from their devices.
Key Takeaways
- Understand how the port carries video and why HDMI remains the display standard.
- Confirm DisplayPort Alt Mode or Thunderbolt before attempting a connection.
- Choose quality cables and HDMI 2.0 when targeting 4K at 60 Hz.
- DIY builds need specific parts, safety gear, and proper pinout checks.
- Troubleshoot common faults: no signal, no audio, or poor resolution with targeted checks.
Introducing USB-C to HDMI: What It Is And Why It Matters
This section explains how a single reversible connector delivers power, data, and a video stream that most screens expect via an HDMI input.
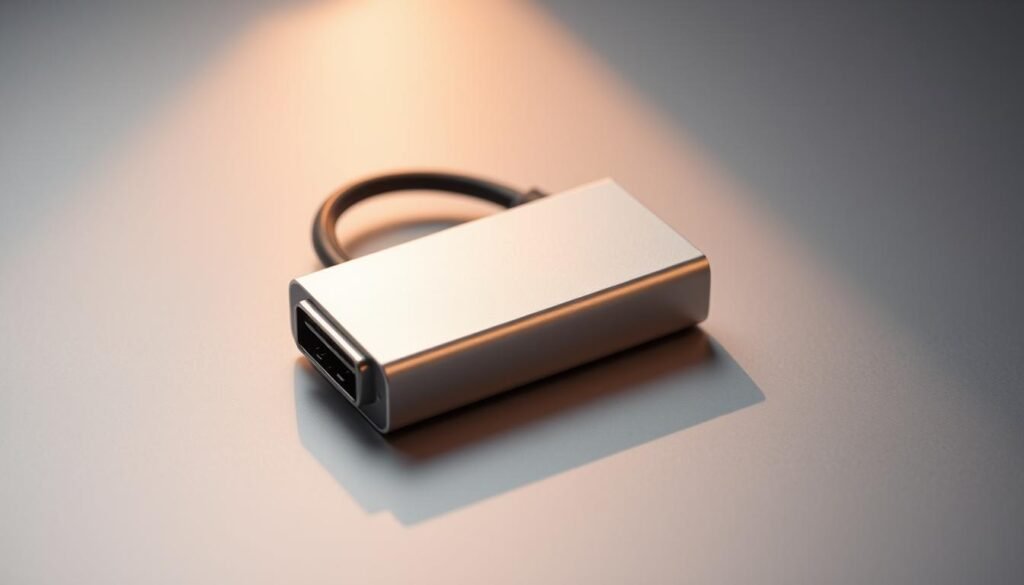
The usb-c hdmi pathway is the bridge that lets a device with a usb-c port drive an HDMI display for work or entertainment. It turns a single plug into charging, file transfer, and video output at once.
Not every device supports video output over that port. Confirm DisplayPort Alt Mode or Thunderbolt before buying an adapter or cable.
- Hardware choices include a compact usb-c hdmi adapter, a multiport dongle, or a direct cable adapter for plug-and-play connections to tvs and monitors.
- Why it matters: better presentations, larger screens for streaming and gaming, and simple second-display setups for hybrid work.
- Basic setup: insert into the usb-c port, connect the hdmi cable to the display’s hdmi input, then pick the correct source on the display.
| Use Case | Recommended Hardware | Notes |
|---|---|---|
| Travel presentations | Pocketable adapter | Lightweight, plug-and-play |
| Home media | Direct cable adapter | Fewer connectors, less loss for 4K |
| Office multiport | Multiport dongle | Adds USB and Ethernet while driving a display |
For wiring diagrams and parts lists, see the usb-c to hdmi wiring diagram post. Choose capable cables for 4K and inspect the hdmi port and hdmi cable on your display for wear to keep video quality steady.
How USB-C to HDMI Works: Protocols, Ports, And Video Output Basics
This section breaks down how modern ports translate a digital video stream into the HDMI format most displays expect.
DisplayPort Alt Mode and Thunderbolt let a reversible port expose native display signals. When a usb-c port supports these protocols, it can send high-bandwidth video that an adapter converts for an HDMI input.
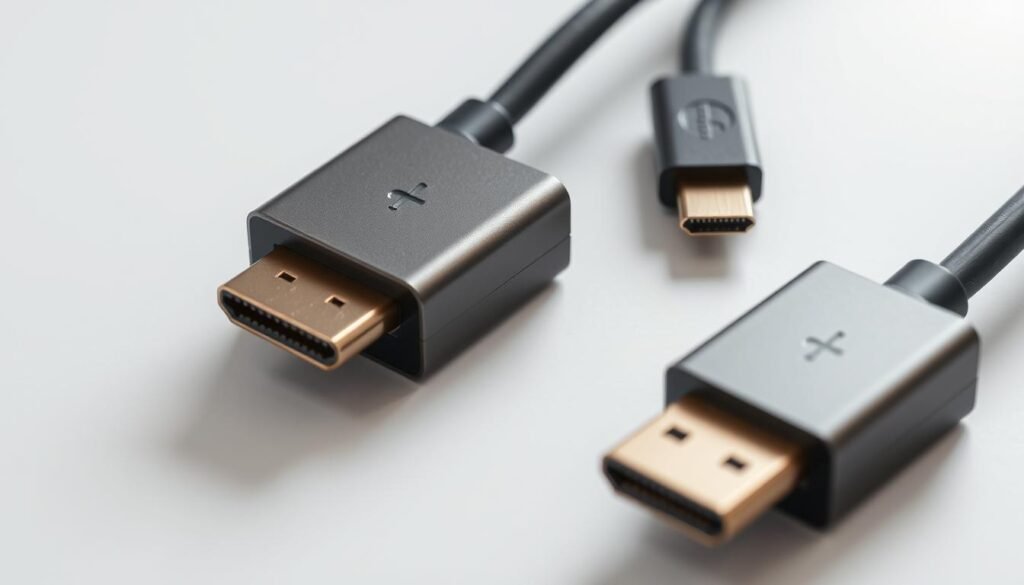
HDMI remains the consumer standard for video audio transmission. Different HDMI versions unlock higher bandwidth for 4K and HDR. Cable quality and the hdmi port on the screen both limit final resolution and refresh rate.

Choosing The Right Bridge
A compact usb-c hdmi adapter suits minimal setups. A multiport dongle adds Ethernet and USB while driving a screen. A direct cable reduces connection points and often improves stability.
“Match the device, adapter, cable, and display capabilities for the best result.”
- Confirm the usb-c port supports video before buying hardware.
- If device, cable, and display all support 4K/HDR, output quality improves.
- Keep drivers and firmware current to reduce detection and stability issues.
For a deeper technical overview of how USB-C carries video and the conversion process, see how USB-C to HDMI works.
How To Connect USB-C To HDMI: Step-By-Step Guide
Follow a clear sequence of checks and hookups to get a reliable display connection fast.

Check Compatibility And Alt Mode Support
First, make sure the source device supports DisplayPort Alt Mode or Thunderbolt. They must be listed in the device specs or user manual.
If the port lacks video support, no hardware will produce a picture. Confirm this before buying any hardware.
Select The Right Adapter, Dongle, Or Direct Cable
Pick an option based on portability and resolution goals. A multiport dongle adds USB and Ethernet. A direct cable reduces connectors for more stable 4K output.
Tip: Choose a certified hdmi cable for long runs and for 4K at 60 Hz.
Make The Connection And Select The Correct HDMI Input
- Insert the usb-c end into the device and the hdmi end into the display. Secure both ends to avoid intermittent loss.
- Power any dongle if it requests external power, then power on the display.
- Switch the TV or monitor to the correct hdmi input. If no image appears, try another input or reseat the cable.
Adjust Display And Audio Settings For Optimal Output
Open display settings and set the desired resolution and refresh rate. Select the HDMI output as the audio sink if sound should come from the screen.
Update the device OS and graphics drivers when detection or stability problems persist. Simple reseating, swapping the hdmi cable, or testing another port often fixes most faults.
“Verify compatibility first, then minimize connection points for the most reliable video output.”
USB-C to HDMI Adapter DIY Guide
This section gives a tight, practical plan for building a reliable cable that passes video and audio cleanly.

Materials And Tools
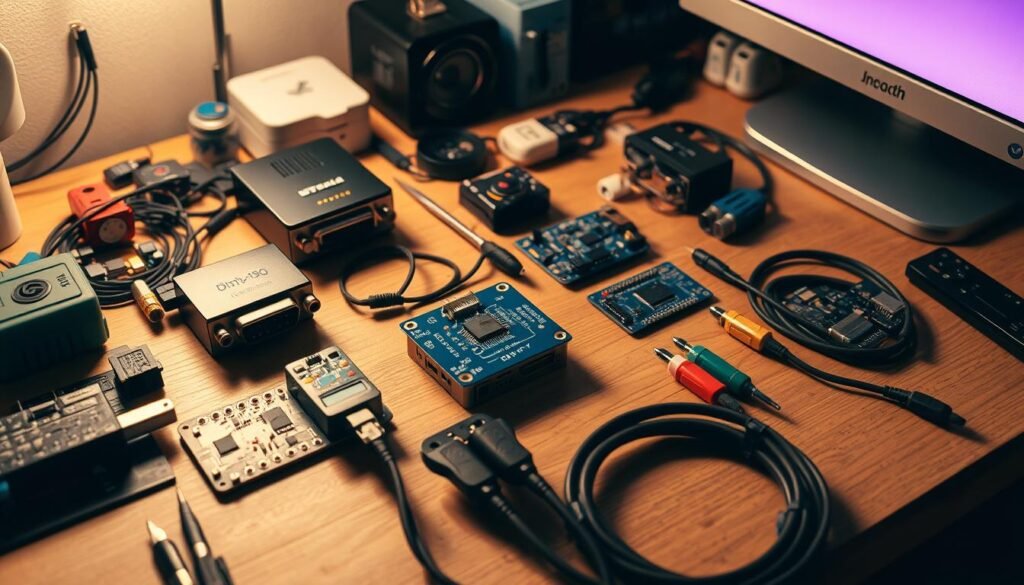
Required parts include a USB-C male connector and an HDMI female connector. The workbench should also have a soldering iron, solder, and a wire stripper.
Use heat shrink tubing or electrical tape and a multimeter for continuity checks. Keep a quality hdmi cable ready for final testing.
Safety First
Work in a ventilated area and wear eye protection. The iron must be grounded and a fire extinguisher should be nearby.
Pinouts And Wiring Diagrams
Map each signal using authoritative pinout diagrams and datasheets before soldering. Confirm which lines carry video, data, and audio.
Soldering, Insulation, And Cable Management
Tin wires, solder to the correct pads, and keep leads short to protect signal integrity. Insulate each joint with heat shrink.
Use strain relief and avoid tight bends. Good cable management preserves long-term quality and prevents stress at the usb-c end and the hdmi end.
Testing And Validation
Verify video and audio on a known-good device and screen. Try multiple resolutions and reflow any suspect joints.
Document pinouts and steps for repeat builds. For a full parts list and step instructions, see this full materials and steps.
| Stage | Action | Tool |
|---|---|---|
| Prep | Inspect connectors and strip wires | Wire stripper, magnifier |
| Solder | Tin pads and solder signal lines | Soldering iron, solder |
| Insulate | Cover joints and add strain relief | Heat shrink, tape |
| Test | Check continuity and play video | Multimeter, hdmi cable |
“Keep joints short, insulated, and supported; small steps prevent major failures.”
Compatibility And Device Support: Laptops, Phones, Tablets, TVs, And Projectors
Verifying device and display compatibility is the single best step before buying any connection gear. Confirm that each device explicitly supports video output. Look for terms like DisplayPort Alt Mode or Thunderbolt in specs.

Verifying USB-C Video Output On Different Devices
Laptops, phones, and tablets vary. A laptop may list DisplayPort Alt Mode; a phone may not. Always check the manual or the manufacturer’s spec page.
Test the pairing when possible. Try the device with a trusted monitor or projector before important presentations.
Resolution, Refresh Rate, And HDMI Cable Requirements
The final output depends on the device GPU, the adapter capability, and the hdmi cable bandwidth. For reliable 4K at 60 Hz use an HDMI 2.0–rated cable and confirm the hdmi port on the display supports that mode.
Power, Firmware, And Driver Considerations
Some multiport models run more reliably with external power. Keep firmware and graphics drivers updated on laptops, phones, and tablets to improve detection and handshake with displays.
| Category | What To Check | Quick Fixes |
|---|---|---|
| Laptop | DisplayPort Alt Mode, GPU limits | Update drivers, try different port |
| Phone / Tablet | Manufacturer notes, supported resolutions | Use certified cable, test on TV |
| TV / Projector | HDMI input capabilities, processing modes | Switch hdmi input, disable processing |
Checklist: certified hdmi cable, a known-good usb-c hdmi adapter, and display set to the expected resolution. Document combinations that work for a repeatable viewing experience.
For specific mobile steps, consult this how to use HDMI adapters for post.
Troubleshooting USB-C To HDMI: Common Problems And Fixes
Black screens often hide simple faults: input selection, cable seating, or an unsupported video mode.

No Signal Or Black Screen: Inputs, Ports, And Cables
Make sure the display is set to the correct hdmi input and that cables are fully seated. Power-cycle the source, any hub, and the display to reinitialize the connection.
Test another hdmi cable or an alternate hdmi port on the screen. If the device does not detect a display, verify the usb-c port supports video and check system display settings.
No Audio Over HDMI: Output Selection And Settings
If video appears but sound is missing, open audio settings and set the hdmi output as the default playback device. Play known-good video audio to confirm.
Update the device audio drivers and firmware if the OS fails to list the display as an output option.
Poor Resolution Or Flicker: Cable Quality And Adapter Limits
Swap in a certified high-bandwidth hdmi cable and lower resolution or refresh rate temporarily. Some adapters only support specific modes (for example, 4K at 30 Hz).
Update graphics drivers and firmware to resolve EDID or handshake issues. Isolate variables by testing different devices, displays, and cables.
Quick checklist: correct hdmi input, seated cable, known-good cable, device supports video, and updated drivers.
| Issue | First Action | Follow-up |
|---|---|---|
| No signal / black screen | Select correct hdmi input; reseat cables | Try different hdmi port, test another cable, check device video support |
| No audio | Choose hdmi output in audio settings | Update audio drivers; test with known media |
| Flicker / poor resolution | Use certified high-bandwidth cable | Reduce resolution/refresh; confirm adapter capability; update drivers |
For more step-by-step fixes and deeper diagnostics, see this troubleshooting resource.
Links To DIY Builds, Wiring Diagrams, And Compatibility Posts
A central library links practical builds, pinout diagrams, and per-device compatibility checks for faster troubleshooting.
DIY Build Library: From Basic USB-C To HDMI To Advanced Projects
The library curates step-by-step projects that cover point‑to‑point wiring, soldered connectors, and compact enclosures with strain relief.
Safety checklists, validation steps, and testing templates are included so builders can verify video and audio on known displays.
Wiring Diagrams And Compatibility Index For Major Devices
Wiring maps show which pins carry display signals and which must remain isolated for a stable connection.
The compatibility index groups laptops, phones, and tablets and lists DisplayPort Alt Mode or Thunderbolt support and any device‑specific settings.
- Quick checklists for choosing an adapter, dongle, or hdmi cable adapter by bandwidth and port availability.
- Testing templates for display detection, audio pass‑through, and screen modes across common OSes.
- Troubleshooting trees from symptom to likely root cause and fix.
| Resource | What It Covers | Best For |
|---|---|---|
| Build Projects | Wiring, solder steps, enclosures | Hands‑on builders |
| Wiring Diagrams | Pinouts, signal mapping | Technical validation |
| Compatibility Index | Device lists, settings notes | Buyers & testers |
“Use the library to match the right cable, check port support, and confirm display settings before testing.”
Conclusion
This closing note ties the key checks together so readers can finish a stable connection with confidence.
Confirm the usb-c port supports video, pick a capable usb-c hdmi adapter, and plug into the display’s hdmi port and correct hdmi input. A quality adapter and cable matched to the target resolution give a sharper screen and steadier connection for work and entertainment.
Follow safe wiring and clear pin mapping when building at home. Test each device and validate video output, audio routing, and display settings before relying on any single cable or spare on the road.
Quick checklist: connect usb-c, verify detection, set output and display settings, and enjoy a dependable viewing experience across devices and displays.


