USB On-The-Go (OTG) technology allows devices to act as both hosts and peripherals, enabling direct communication between them without the need for a host computer. OTG adapters are essential for connecting peripherals such as USB flash drives, keyboards, and game controllers to smartphones and tablets. While OTG adapters are readily available, creating your own DIY OTG adapter can be a rewarding and practical project. In this article, we’ll explore how to turn a standard USB cable into an OTG adapter, empowering you to enhance the connectivity of your mobile devices.
Materials Needed:
Before you begin, gather the following materials. If you don’t already have these items, they are available at Amazon. We’ve provided links to recommended products to help you complete your DIY project. Click on the links to find quality options that suit your needs.
As an Amazon Associate, we earn from qualifying purchases.
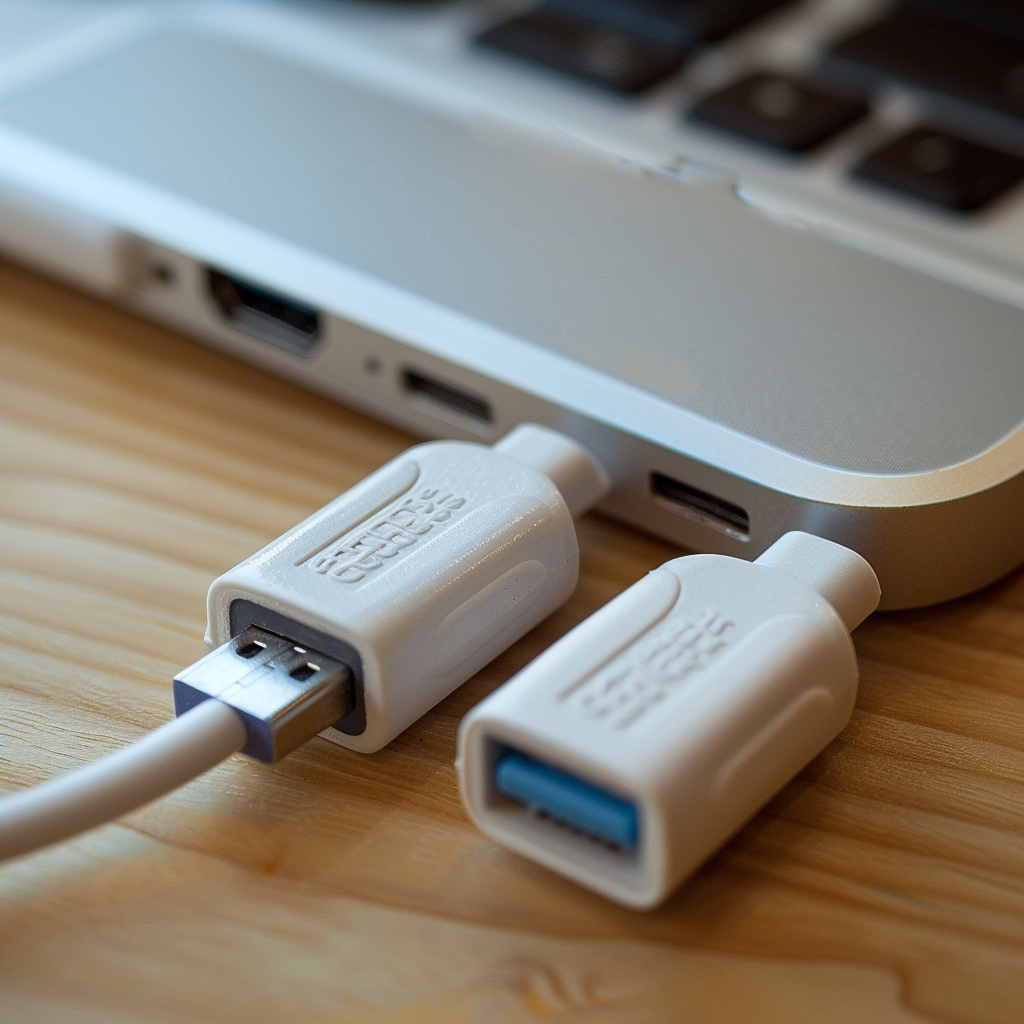
- USB cable (preferably a micro USB or USB-C cable)
- USB OTG adapter (optional, for reference)
- Soldering iron and solder
- Wire stripper
- Knife or scissors
- Electrical tape or heat shrink tubing
Step-by-Step Guide:
1. Identify the USB Cable:
- Select a USB cable suitable for conversion into an OTG adapter. Micro USB and USB-C cables are commonly used for OTG connections with smartphones and tablets.
2. Cut the Cable:
- Using a knife or scissors, carefully cut the USB cable in half, leaving enough length on each side to work with.
3. Identify the Wires:
- Strip the outer insulation of the USB cable to expose the inner wires. Typically, USB cables contain four wires: red (power), black (ground), green or white (data+), and white or green (data-).
- Use a wire stripper to strip the insulation from the ends of each wire.
4. Solder the Connections:
- Determine which wires correspond to the power, ground, and data lines on the USB cable. Refer to the pinout diagram of the USB connector for guidance.
- Solder the wires from one half of the USB cable to the corresponding pins on the other half. Typically, the power (red) and ground (black) wires should be connected directly, while the data wires (green/white) may need to be crossed over, depending on the orientation of the connectors.
5. Insulate the Connections:
- Once soldering is complete, insulate the soldered connections using electrical tape or heat shrink tubing. This will help prevent short circuits and ensure the stability of the adapter.
6. Test the Adapter:
- Connect the DIY OTG adapter to your mobile device and plug in a USB peripheral, such as a flash drive or keyboard.
- Verify that the peripheral is recognized and functions correctly with your device. Test both data transfer and power delivery capabilities.
Empowering Mobility with DIY OTG Adapters
By following this DIY guide, you’ve transformed a standard USB cable into a versatile OTG adapter, expanding the connectivity options of your mobile devices. Whether you’re transferring files from a USB flash drive, connecting a keyboard for typing convenience, or using a game controller for mobile gaming, your DIY OTG adapter offers flexibility and functionality on the go. With a little soldering and ingenuity, you can unlock the full potential of your smartphone or tablet, turning it into a powerful tool for productivity and entertainment. So grab your tools, unleash your creativity, and start crafting your own DIY OTG adapter today!
Related Articles:
- DIY SATA to USB Adapter: Repurposing Spare Parts for Data Transfer
- Transforming an Old Laptop Screen into a Portable HDMI Display: DIY Project
- Creating a Homemade Thunderbolt Adapter: DIY Guide and Tips
- DIY OTG Adapter: Turn Your USB Cable into an On-The-Go Connector
- Building a USB to Serial Adapter: A Practical DIY Approach
- Crafting Your Own DisplayPort to DVI Adapter: DIY Project Explained
- DIY VGA to HDMI Adapter: Transforming Old Tech into Modern Connectivity
- Creating a Custom Audio Adapter: Step-by-Step DIY Tutorial
- DIY Ethernet Adapter: How to Make Your Own Network Connector


