In today’s tech-savvy world, we often find ourselves upgrading our devices, leaving old electronics to gather dust in the corner. If you have an old laptop lying around that no longer serves its primary purpose, don’t toss it just yet! You can repurpose its screen into a portable HDMI display. This DIY project not only breathes new life into the laptop’s components but also provides a useful external monitor for your other devices. Whether you’re looking for a secondary screen for your workstation, a display for gaming, or simply a way to showcase presentations, this guide will walk you through the steps to transform that old laptop screen into a functional HDMI display.
Materials Needed:
Before you begin, gather the following materials. If you don’t already have these items, they are available at Amazon. We’ve provided links to recommended products to help you complete your DIY project. Click on the links to find quality options that suit your needs.
As an Amazon Associate, we earn from qualifying purchases.
- Old laptop with a functioning LCD screen
- LCD controller board kit compatible with your laptop screen
- Power adapter for the LCD controller board
- HDMI input module or adapter
- Power source (battery pack or DC power supply)
- Enclosure or mounting materials (optional)
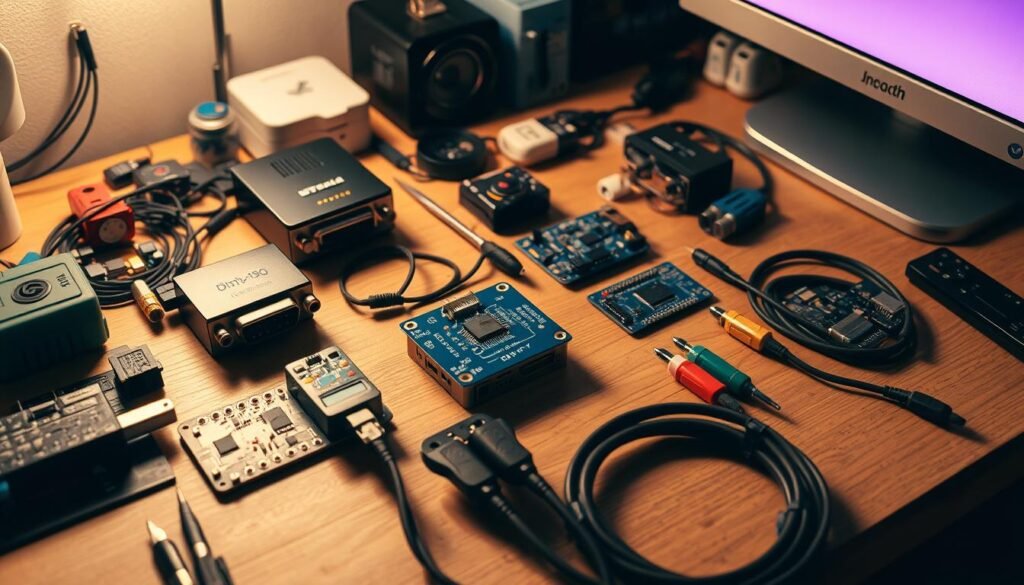
- Screwdriver, wire cutters, and other basic tools
Additional Materials
To enhance the functionality and portability of your new display, consider these optional materials:
- USB Hub: If you want to connect multiple devices to your display, a USB hub can add additional ports for peripherals.
- Protective Case: A soft or hard case can protect the screen during transport, especially if you’re planning to take it on the go.
- Screen Protector: A protective film can safeguard the display from scratches and dust.
If you don’t already have all these items, you can easily purchase them online.
Step-by-Step Instructions
Step 1: Disassemble the Laptop
- Power Down and Unplug: Start by ensuring the laptop is powered down and unplugged from any power source. Removing the battery, if applicable, adds an extra layer of safety.
- Remove the Back Cover: Use a screwdriver to carefully remove the screws from the back cover of the laptop. Gently pry off the back panel to expose the internal components.
- Disconnect the LCD Screen: Locate the LCD screen’s connectors and carefully detach them. Be cautious with the fragile cables to avoid damage.
- Remove the Screen: Unscrew any mounting brackets holding the screen in place, and gently lift the screen out of the laptop casing. Make sure to set it aside carefully to avoid scratches.
Step 2: Prepare the LCD Controller Board
- Select a Compatible LCD Controller Board: Purchase an LCD controller board kit that matches the model of your laptop screen. This board will allow you to connect the screen to HDMI sources. Research the specifications online or consult product reviews to ensure you’re choosing a compatible option.
- Connect the LCD Screen to the Controller Board: Follow the instructions provided with the controller board kit to connect the LCD screen. Typically, this involves attaching the screen’s ribbon cable to the controller board and securing it in place. Ensure that all connections are snug and secure to avoid any future disconnections.
- Attach the Power Adapter: Connect the power adapter to the controller board, ensuring that it provides the necessary voltage and current for your screen. Always double-check the voltage requirements to prevent damage.
Step 3: Setting Up the HDMI Connection
- Connect the HDMI Input Module: Plug the HDMI input module into the designated port on the controller board. This module will allow you to connect devices via HDMI, enabling versatility in your setup.
- Testing the Setup: Before finalizing everything, connect the controller board to a power source and the HDMI input to a compatible device (like a laptop or gaming console). Turn everything on to ensure the display functions correctly. Adjust the brightness and contrast settings on the controller board, if applicable, to improve the visual output.
Step 4: Finalizing Your Portable Display
- Enclosure Options: To protect your setup, consider placing the LCD screen and controller board inside an enclosure. You can purchase a custom enclosure or build one using materials like cardboard or plastic. Ensure there are cutouts for the HDMI port and power connection.
- Mounting: If you prefer a more permanent setup, use brackets or a stand to secure the screen in an upright position. This is especially useful if you plan to use the display on a desk or in a stationary position.
- Cable Management: Organize the cables to prevent tangling and ensure a clean setup. Use cable ties or clips to keep everything neat. A tidy setup can enhance both aesthetics and functionality.
Step 5: Enjoy Your New Display!
Once everything is set up and secured, your old laptop screen is now a portable HDMI display! Connect it to any HDMI-compatible device and enjoy your content on a larger screen.
Additional Tips for Enhanced Functionality
1. Screen Calibration
Depending on the controller board, you may need to adjust the screen settings for optimal brightness, contrast, and color accuracy. Calibration tools or software can help you achieve the best visual results, ensuring that colors are represented accurately and images appear sharp.
2. Portability Considerations
If you plan to travel with your new portable display, consider using a lightweight, protective case to transport it safely. A padded case can prevent damage during transport, while also providing compartments for cables and other accessories.
3. Power Source Options
For added portability, consider using a rechargeable battery pack as a power source. Ensure it meets the voltage requirements of the controller board. This allows you to use the display in locations without easy access to power outlets, such as during presentations or outdoor events.
4. Additional Connections
If you want to expand your display’s capabilities, consider integrating additional input options. Some LCD controller boards allow for multiple HDMI inputs or even VGA connections, enabling you to switch between different sources without needing to unplug cables.
5. Maintain Your Display
To keep your new display in good condition, regularly clean the screen with a microfiber cloth and avoid using harsh chemicals. Additionally, if you’re using it frequently, inspect the cables and connections for wear and tear to ensure optimal performance.
Conclusion
Transforming an old laptop screen into a portable HDMI display is a rewarding DIY project that maximizes the utility of unused electronics. With some basic tools and materials, you can create a functional display that enhances your multimedia experience. Whether for work or play, this portable solution allows you to take your content with you, anywhere you go. Embrace the opportunity to repurpose your old technology and create something new and useful.
By following the steps outlined in this guide, you can enjoy the benefits of a versatile HDMI display that meets your specific needs. Don’t hesitate to share your experiences or any tips you may have in the comments below!
Resources for Further Learning
- YouTube Tutorials: Look for video guides on similar DIY projects for visual assistance.
- Electronics Forums: Join communities to discuss and share insights on DIY electronics and monitor setups.
- Books on Electronics: Consider reading literature that delves deeper into electronics projects and displays for a more comprehensive understanding.
Related Articles:
- DIY SATA to USB Adapter: Repurposing Spare Parts for Data Transfer
- Transforming an Old Laptop Screen into a Portable HDMI Display: DIY Project
- Creating a Homemade Thunderbolt Adapter: DIY Guide and Tips
- DIY OTG Adapter: Turn Your USB Cable into an On-The-Go Connector
- Building a USB to Serial Adapter: A Practical DIY Approach
- Crafting Your Own DisplayPort to DVI Adapter: DIY Project Explained
- DIY VGA to HDMI Adapter: Transforming Old Tech into Modern Connectivity
- Creating a Custom Audio Adapter: Step-by-Step DIY Tutorial
- DIY Ethernet Adapter: How to Make Your Own Network Connector


