Building your own USB to HDMI cable can be a rewarding DIY project, allowing you to connect your devices with ease without the need to buy expensive adapters. Whether you’re trying to hook up a laptop, smartphone, or tablet toBuilding your own USB to HDMI adapter is a rewarding DIY project that allows you to save money and gain valuable hands-on experience with electronics. Whether you’re connecting a laptop to a TV, a tablet to a projector, or any other USB-C-enabled device to an HDMI display, creating a DIY adapter offers an affordable and customizable solution. In this guide, we’ll walk you through everything you need, from the materials required to the step-by-step assembly process, ensuring you can build a high-quality and functional adapter. Let’s dive into the world of DIY tech and explore how to create your very own USB to HDMI adapter!
Materials Needed
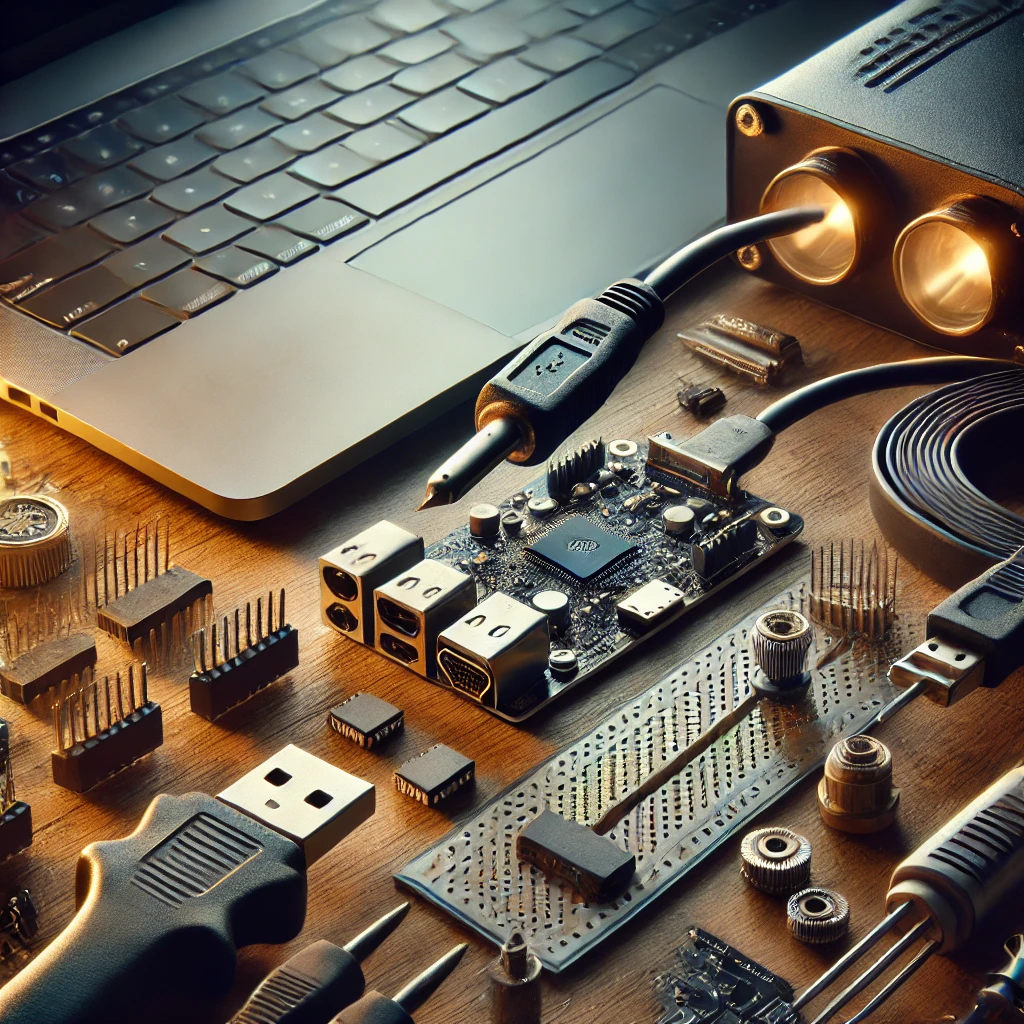
Before starting your USB to HDMI cable DIY project, it’s essential to gather all the necessary materials. Here’s a list of everything you will need:
1. USB Cable
You’ll need a USB-A or USB-C cable with male connectors on both ends. The type of USB cable you choose depends on the device you plan to connect, so pick the appropriate one based on your setup.
2. HDMI Male Connector
The HDMI male connector is necessary for connecting your adapter to an HDMI-enabled device (such as a TV, monitor, or projector). You can buy pre-soldered connectors or individual connectors with pins for soldering.
3. Signal Conversion Chip
The heart of this project is the signal converter chip. You’ll need an HDMI video chip to convert the data from the USB signal to the HDMI format. There are various chips available, such as those that convert USB 2.0 or USB 3.0 signals to HDMI.
4. Microcontroller or Printed Circuit Board (PCB)
The microcontroller or PCB will help you interface the USB and HDMI connections. A printed circuit board (PCB) with the required connections will ensure that the data flows properly from USB to HDMI.
5. Soldering Tools
You’ll need basic soldering tools like a soldering iron, solder, flux, and tweezers for connecting the wires and components. A fine-tipped soldering iron will allow you to work with the tiny pins in the HDMI connector and circuit board.
6. Heat Shrink Tubing
Heat shrink tubing will be needed to insulate and protect the soldered connections. It provides added durability and prevents shorts between wires.
7. Electrical Tape
Electrical tape will help you secure and bundle the cables to prevent strain on the joints and ensure everything stays in place.
1. Exploring Alternative Materials for Your DIY USB to HDMI Adapter
When building your USB to HDMI adapter, the materials you choose can significantly impact the performance, durability, and overall quality of the finished product. While the basic components are essential, exploring alternative materials and upgraded options can provide even better results and customization. Here’s a closer look at some of the alternative materials you might consider using for your DIY adapter:
1.1. Premium Cables for Enhanced Signal Quality
The quality of the cables used in your USB to HDMI adapter can greatly influence the clarity of the video and audio signals. While standard cables will work, opting for higher-quality cables can improve performance.
- Gold-Plated Connectors: Gold-plated connectors are known for their resistance to corrosion and better signal transmission. Using gold-plated USB and HDMI connectors will ensure a more stable connection, especially for high-definition video output.
- Shielded Cables: Shielded USB and HDMI cables help protect the signal from interference caused by electromagnetic waves, which can degrade the quality of the video and audio. Using shielded cables will ensure that the signals transmitted remain clear, especially if you’re using your adapter in environments with heavy electronics.
1.2. High-Quality Signal Conversion Chip
The signal conversion chip is the heart of your USB to HDMI adapter. It’s responsible for converting the digital USB signal into an HDMI-compatible format, and the quality of the chip will determine the overall functionality of your adapter.
- USB 3.0/3.1 to HDMI Chip: If you want to ensure that your adapter supports higher resolutions, like 1080p or 4K, you may want to use a USB 3.0/3.1 to HDMI chip. These chips offer better bandwidth, allowing for faster data transfer and higher-quality video output.
- DisplayPort Alternate Mode (DP Alt Mode) Chip: For a more advanced build, consider using a DisplayPort Alternate Mode chip, which will enable your USB-C port to carry both video and audio signals, making it suitable for high-definition displays and audio output. This chip is especially useful for USB-C to HDMI conversions.
1.3. Custom-Made Printed Circuit Board (PCB)
While you can use a pre-made circuit board or breadboard for assembling the adapter, a custom Printed Circuit Board (PCB) provides better durability and ensures that the components are securely connected.
- Custom PCB: If you have access to PCB manufacturing, designing and creating a custom PCB for your adapter can help organize the components neatly and provide a more professional look. A PCB also reduces the risk of loose connections or short circuits, which are more common when using a breadboard.
1.4. Higher-Quality HDMI Connectors
The HDMI connector is a critical part of the adapter. Using a premium HDMI connector will ensure a better connection with your display device.
- Gold-Plated HDMI Connector: As with USB cables, gold-plated HDMI connectors will reduce signal loss, ensuring that your video and audio signals are transmitted with minimal degradation.
- Slim or 90-Degree HDMI Connectors: If space is a concern, consider using slim or 90-degree HDMI connectors to make the adapter more compact and easier to handle, especially in tight spaces or on portable setups.
1.5. Enhanced Soldering Materials
Good soldering is crucial to making your DIY USB to HDMI adapter work reliably. Using high-quality soldering materials can prevent weak connections and ensure a solid build.
- Lead-Free Solder: While lead-free solder is often used for environmental and safety reasons, it can provide better longevity and stability in electronic connections.
- Solder Flux: Using a high-quality solder flux ensures that the solder sticks to the connectors more effectively and that the joints remain strong.
1.6. Improved Power Supply
If your DIY adapter requires external power, such as for active signal conversion, an upgraded power supply can ensure stable performance.
- 5V Power Supply: A stable 5V power supply will provide consistent energy for the signal converter chip and ensure that your adapter operates smoothly without issues like flickering or loss of signal.
- Portable Battery Pack: If you need a mobile or portable solution, a battery pack can supply power to your DIY USB to HDMI adapter, allowing you to use it in situations where a wall outlet isn’t available.
By exploring these alternative materials, you can create a USB to HDMI adapter that is not only functional but also highly reliable and tailored to your specific needs. Whether you’re looking for better video quality, more durability, or a more compact design, these materials can elevate your project and ensure that the adapter performs at its best.
Step-by-Step Instructions
Now that you have all the materials ready, follow these detailed instructions to create your own USB to HDMI cable.
Step 1: Prepare the USB Cable
Start by preparing the USB cable. Using a wire stripper, carefully strip away about 2 inches of the outer insulation from one end of the USB cable. Inside, you will see several wires, usually color-coded:
- Red wire (Vbus)
- Black wire (Ground)
- White wire (D+)
- Green wire (D-)
You’ll need to separate these wires, as you will be connecting them to the HDMI connector and the signal converter chip.
Step 2: Prepare the HDMI Connector
Take the HDMI male connector and strip off a small amount of insulation from the wires inside. The HDMI connector has multiple pins, each serving a specific function:
- Pin 1 (Ground): Connects to the ground wire (black).
- Pin 2 (5V): Connects to the Vbus wire (red).
- Pin 3-11 (Data Lines): These connect to the D+ and D- wires for video and audio transmission.
If the HDMI connector does not come pre-soldered, carefully solder the USB wires to the correct pins according to the pinout diagram of the HDMI connector.
Step 3: Solder the Signal Conversion Chip
Now it’s time to attach the signal conversion chip. Follow these steps:
- Solder the power and ground lines from the USB cable (red and black wires) to the signal conversion chip.
- Connect the data lines (white and green wires) from the USB cable to the chip’s corresponding input pins for video data (D+ and D-).
- Solder the HDMI output from the chip to the HDMI connector.
Ensure that each connection is clean and secure, with no short circuits or loose connections. Proper soldering is crucial for the functionality of your adapter.
Step 4: Assemble the Cable
Once the connections are made, carefully position all the components into place. You can use heat shrink tubing to insulate the solder joints and wires. Make sure to shrink the tubing using a heat gun to ensure a snug fit and protection for the components.
After the insulation is in place, use electrical tape to bundle the wires together neatly and to provide extra stability to the cable.
Step 5: Test Your Adapter
Now it’s time to test the functionality of your DIY USB to HDMI cable:
- Connect the USB-A end of the adapter to your USB-C-enabled device.
- Connect the HDMI end to your HDMI-capable display.
- Power on both devices and check if the video and audio output are working correctly.
If you encounter issues like no signal or poor quality, ensure that all connections are properly soldered and that the signal conversion chip is compatible with your USB and HDMI standards.
Troubleshooting Tips
If your USB to HDMI adapter is not working as expected, consider these common troubleshooting steps:
- No Signal: Ensure that the USB-C port supports video output (DisplayPort Alternate Mode) and that the chip is compatible with your display.
- Low Video Quality: If the resolution is low, check that the signal converter chip supports higher resolutions like 1080p or 4K.
- No Audio: Make sure that the HDMI connector supports audio transmission, and check that the display device has the sound enabled for HDMI.
Final Thoughts: Crafting Your Own USB to HDMI Adapter
Building your own USB to HDMI adapter is not only a rewarding DIY project but also a practical solution for connecting devices that may not have built-in HDMI ports. By using the right materials, understanding the technology behind the conversion, and following the step-by-step instructions, you can create a high-quality adapter that meets your specific needs. Not only will you save money, but you’ll also gain valuable skills in soldering, wiring, and understanding how digital video signals are transmitted.
As with any DIY project, the key to success lies in careful preparation and attention to detail. From choosing the right components to troubleshooting common issues, building your own USB to HDMI adapter offers both a fun challenge and a functional end product. Whether you’re using it for streaming media, connecting your laptop to a TV, or projecting presentations, your custom-built adapter will enhance your tech setup.
With patience and the right tools, you’ll have a personalized solution that works just as well as commercially available adapters, without the hefty price tag. Plus, the knowledge you gain along the way will be a valuable addition to your growing DIY tech skill set.
Happy building, and enjoy the benefits of your homemade USB to HDMI adapter!
Additional Resources
- Building Your Own DIY Type-C to HDMI Adapter: Materials and Instructions
- How to Build Your Own DIY USB-C to HDMI Adapter: Step-by-Step Guide
These resources will expand your knowledge on USB and HDMI technology, as well as provide you with solutions for potential challenges you may face while building your own adapter.


